Diaper Pail – How It Works and Tips to Pick One


A diaper pail is one of the most used items for every parent. A diaper pail comes in handy when you pile up stacks of diapers and still keep the odor away from the room or your baby’s lovely nursery setup. Here we bring you some good insight on the necessity of having a diaper pail, how to choose the right one, the advantages of having a diaper pail, and other points to keep in mind. Having the right diaper pail will indeed improve the quality of your life. Read on to know more.
What Is a Diaper Pail and Why Is It Necessary?
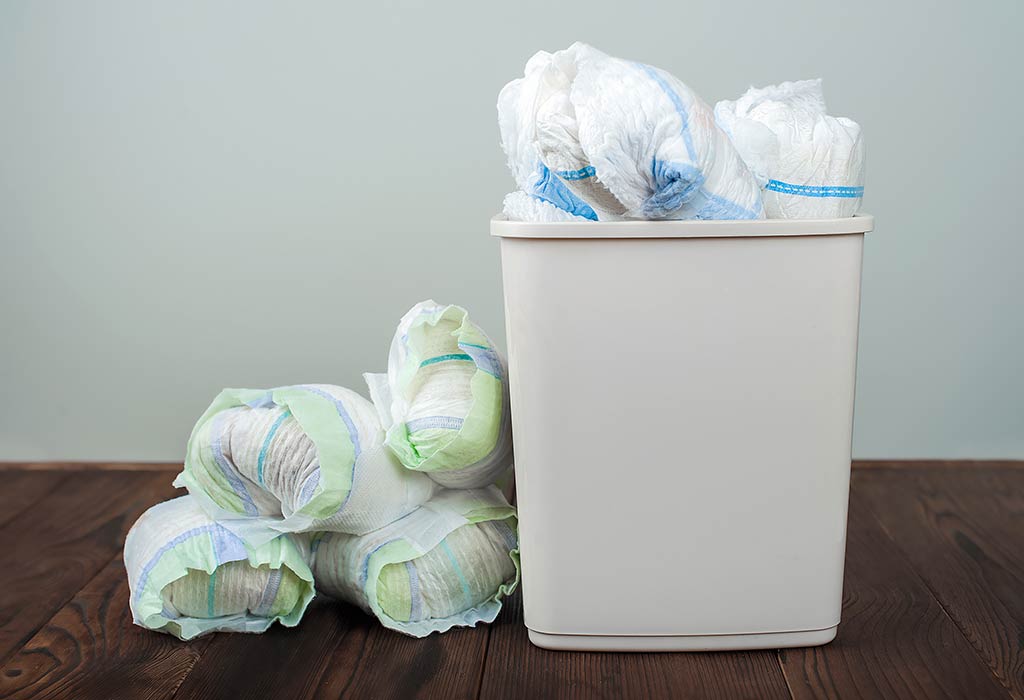
A diaper pail is a garbage or trash can designed specifically to store dirty and used diapers. It is a smart investment for parents that can be used for years, from day one when a baby arrives home until they grow into a toddler. With your baby growing, the need to use and change diapers will also increase. You will continue to see diapers piling up and the use of your diaper pail also increasing than ever before.
A diaper pail may not be an absolute necessity. While a regular trashcan can be used, in all probability, you will end up breathing from your mouth instead of your nose. Using a regular trashcan or a garbage bag may make the beautiful setup nursery of your little munchkin smelly and stinking within a short period.
People mostly want to prevent the spread of stench from dirty diapers and want a uniquely designed diaper disposal system. It will neutralize the odor and allow you to store a huge number of diapers, which will prevent you from frequently running to the outside trash to dump throughout the 24 hours cycle. This indeed saves time for new parents.
How Do You Choose a Diaper Pail?
Different models of diaper pails have different benefits. While all diaper pails try to overcome the stench issue, below are a few features that you might want to consider to choose the right diaper pail for your baby’s nursery.

1. Convenient to Use
This one’s important to consider. When changing a diaper, you will need to have one hand on your baby. Look for a diaper pail with a foot pedal that makes you go hand-free and easy to use. Additionally, having a child locking system on the diaper pail can be advantageous to keep curious kids away from opening and closing them continuously.
2. Odor Blocker
One of the primary reasons to buy a diaper pail is to keep the odor at bay. Hence, look for a diaper pail that has an odor control system. It’s a good idea to pick diaper pails made of non-porous steel that have odor-blocking capacity better than the plastic ones, which would allow the smell to leak. Alternately the ones that come with scented bags to ward off the smell.
3. Correct Size
Ensure to pick a diaper pail that is of the right size. Two factors to consider while choosing the size would be, first being the space where the pail would be kept. It should easily accommodate the space identified. The second factor will be the number of used diapers that the pail would hold in it. That would control the frequency of emptying the can throughout the day or week.
4. Diaper Pail Liners
While you can always choose a typical kitchen trash bag, some diaper pails require special refill bags, like a scented or a deodorizing one. However, you can buy a diaper pail and liners separately too. Ensure to determine the cost for the refills when you surf to choose between different bags.
5. Ties on Bags
Bags would usually have a tie-off in the end. You would use your bags or buy refills with a tie-off available.
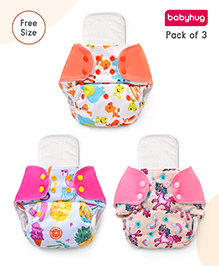
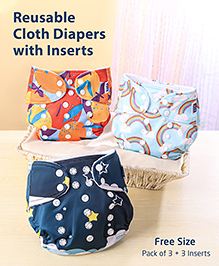
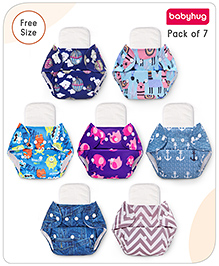
There are different options and choices of diaper pails available – you can choose from the hands-free diaper pail to the economical and even eco-friendly ones. You can also buy a diaper pail for cloth diapers to keep them separate.
How Do Diaper Pails Work?
A diaper pail’s primary objective is to store dirty diapers made of cloth or disposable ones. Diaper pails block the unavoidable and unpleasant stench of the used and dirty diapers for several days at a stretch. It effectively seals the odor that’s old and unpleasant. It also reduces the frequency at which you need to take the diaper garbage out and dump it in the trash outside your house on the garbage day.
Any classic diaper pail will have a clamp system and bags to seal off each diaper stuffed into the trash. As every individual diaper is contained, that sudden rush of smelly air will not pop out when the trash is opened or when the bags are changed. Some diaper pails come with a squeegee that will help you to push the other diapers inside and make space to put in more used diapers.
Advantages of a Diaper Pail
Diaper pails are easy to use. They are made of non-porous steel, which helps contain the odor much more effectively than plastic ones. Diaper pails come with a locking system; hence it comes in handy to keep curious toddlers away from all the mess they can create. Imagine you have twins or, for that matter, a pet; the diaper pails remain locked and closed. Despite prying on the lock, they will not be able to unlock it.
Hands-free foot pedal diapers are available that come in very handy at the time of change. You will not need to keep touching the lid with your hands to open them. These cans are durable and can be used as regular trash cans once the diaper days are over. These are simple and easy-to-use cans. You can load and empty them easily.
Steps to Clean a Diaper Pail
Cleaning a diaper pail is a smelly task. However, it is important to clean a diaper pail thoroughly as the diaper pails can be prone to sheltering mold and mildew that can be health risking. It could compromise the baby’s and even the parents’ health if not kept in check. At times the interior of the pail can retain the foul smell for long, even after the diapers have been long trashed. Below are the steps that you need to follow carefully to clean a diaper pail.
Step 1: Wear a rubber glove on each hand.
Step 2: Next steps are to remove and get rid of the dirty diapers from your diaper pail.
Step 3: The bag cartridge needs to be removed from the top of the diaper pail.
Step 4: Take the diaper pail outside in the backyard or put it in the bathtub for cleaning.
Step 5: You can use a garden hose or showerhead to properly rinse off the inside and the outside of the diaper pail.
Step 6: Squirt any dish soap or castile soap in the interior and exterior of the diaper pail.
Step 7: If you get any bad odor, you can neutralize it by sprinkling baking soda inside and outside the diaper pail.
Step 8: Allow five to ten minutes for the soap and the baking soda to set and penetrate properly
Step 9: Now, take a sponge or an old rag to scrub the diaper pail thoroughly. It’s a good idea to keep a separate sponge just for cleaning the diaper pail.
Step 10: Now, you can rinse out the diaper pail thoroughly with water to clean the soap.
Step 11: To avoid mold and mildew from breeding inside the diaper pail, spray a concoction made of tree tea oil, vinegar, and borax. Now in circular motions, rub it in using another rag.
Step 12: Re-spray some borax solution inside the diaper pail.
Step 13: Allow the interiors of the pail air to dry for as long as probable. You can also dry it off properly with a cloth or a towel. Of course, the outside of the pail needs to be dried too.
Step 14: It is important not to leave any moisture once it has been cleaned and rinsed.
Steps to Clean Cloth Diaper Pail
The basic steps to clean cloth diaper genie are similar to how you clean a disposable diaper pail. Below listed are the cloth diaper pail ideas for cleaning.
Step 1: The first step is to wash the pail liner and the cloth diapers as you normally wash them.
Step 2: Now, use the showerhead, garden hose, or a diaper sprayer to spray the interiors and exteriors of the diaper pail.
Step 3: It is a good idea to have some water left in the bottom of the pail. This will help to effectively clean the soiled part of the diaper and soak up the smell too.
Step 4: Now, squirt any dish soap or a castile soap in the interior and exterior of the diaper pail.
Step 5: To neutralize any bad odor, you can try sprinkling some baking soda inside and outside of the diaper pail.
Step 6: Allow five to ten minutes for the soap and the baking soda to set and penetrate properly
Step 7: Take a sponge or an old rag to scrub the diaper pail thoroughly. It’s a good idea to keep a separate sponge just for cleaning the diaper pail.
Step 8: Now, rinse the diaper pail thoroughly with water to clean the soap.
Step 9: To avoid any mold and mildew from breeding inside the diaper pail, do spray a concoction made of tree tea oil, vinegar, and borax. Now in circular motions, rub it in using another rag.
Step 10: Re-spray some borax solution inside the diaper pail.
Step 11: Allow the interiors of the pail air to dry for as long as probable. You can also dry it off properly with a cloth or a towel. Of course, the outside of the pail needs to be dried too.
Diaper Pail Safety Tips
There are no major risks related to diaper pails. However, being cautious about all small little things is important in ensuring hygiene and safety. Read below the tips:
- Keep an Extra Diaper Pail: If you have multiple levels in your house, it is a good idea to keep a diaper pail on every level of the house for quick and easy accessibility. This, of course, will create some extra work in the long run; however, you would need to deal with far less serious odors.
- Go for Scented Trash Bags: It is a common practice to line the pails with trash bags. You will easily find scented trash bags manufactured by different companies in the market. They are available in different sizes. You will need to pick the right size that fits your diaper pail. You will rid yourself of that ‘in your face odor experience’ when the can is opened. Also, it helps to keep smelling fresh in between different chores of cleaning.
- Use Deodorized Bars: These are like quick fixes, even if it is temporary. You will need to replace these bars every week to cut down on the smelly odor in the air the moment you open the container of your Diaper pail. You can try those DIY ideas to make your bars.
- Using Rubber Gloves: This one’s the most important purchase you need to make to clean your diaper pails. Don’t forget to wear rubber gloves when dealing with your diaper pail. It’s an additional precaution you must take because, at times, you will be unpleasantly surprised just in case the liner gets torn and begins to leak.
- Keep Disposable Gloves Handy: Wearing disposable gloves makes it easier for you to unload the contents into the toilet or even when you’re using a hose to rinse stuff out.
- Keep a Dedicated Sponge: Sponges used for cleaning can get mixed up with other sponges or cloths. Use a designated sponge to clean your diaper pail and keep changing them at the end of each month. Try to keep it inside an airtight bag to avoid other things in the cleaning closet.
- Make Use of Essential Oils: There are essential oils available in the market that can help to mask smells and keep surroundings fresh. Try tangerine, lavender, grapefruit, and citrus oils with nice aromas and are safe to use around the kids.
The early months and years in the life of an infant or a toddler and even for the new mom, it is all about diapers. Depending on your budget and, more importantly, looking at the convenience of not having to run around the house with hands full of diapers, it’s a good idea to have a diaper pail. With all the information stated above, you can take an informed decision about a diaper pail.
Also Read:
Usage of Diapers for Infant
Common Myths about Diapering
Side Effects of using Diapers for Infants
Was This Article Helpful?
Parenting is a huge responsibility, for you as a caregiver, but also for us as a parenting content platform. We understand that and take our responsibility of creating credible content seriously. FirstCry Parenting articles are written and published only after extensive research using factually sound references to deliver quality content that is accurate, validated by experts, and completely reliable. To understand how we go about creating content that is credible, read our editorial policy here.
- Author


.svg)


")


