10 Super Fun and Easy Penguin Crafts for Kids


Penguins are fun, fascinating, and playful little animals that almost all children love! It is definitely no surprise that penguin movies like Happy Feet are so popular! There are so many ways to teach children about these fascinating creatures and one of the best ways to do this is through penguin arts and crafts! These also make an adorable winter activity.
Innovative & Simple Penguin Crafts for Toddlers, Preschoolers, and Kids
Check out these fun and easy penguin crafts that you and your children can have fun making.
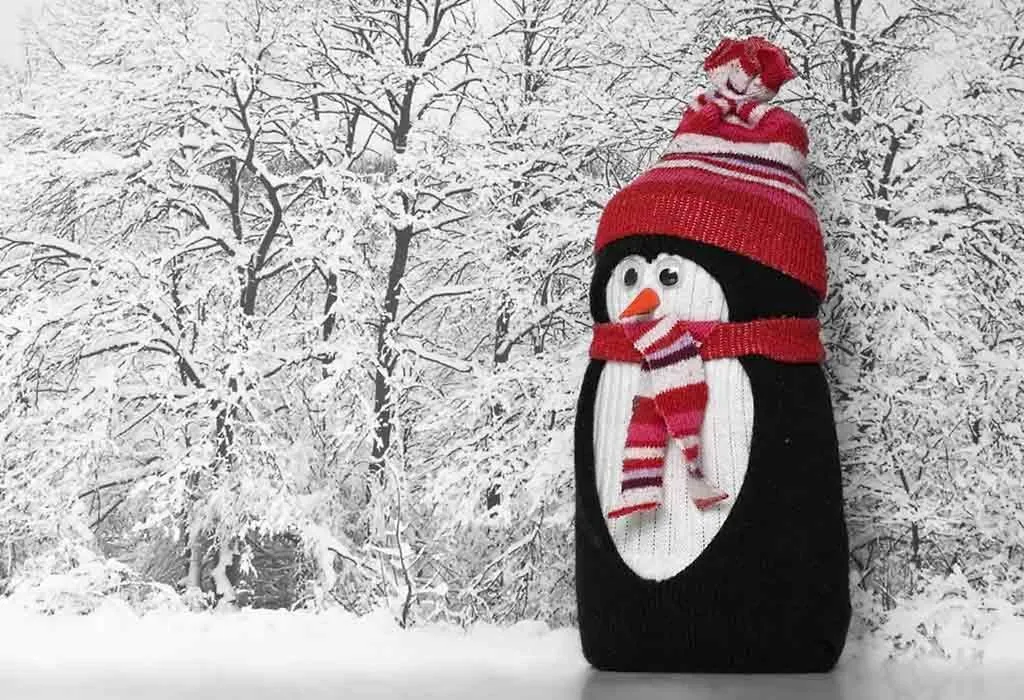
1. No-sew Sock Penguin Craft
Have a few old socks lying around? Why not make penguins with it!
Suitable For: Preschoolers, toddlers, and school-age children.
Supplies:
- Rice
- Rubber bands
- Black sock (1)
- Colored sock for hat (1)
- Ribbons
- Felt glue
- Glue gun
- Paint or markers
- Scissors
- White and orange felt
How to Do:
- Begin by filling the black sock with rice. Once the round shape of the penguin is clearly seen, tie a rubber band at the top.
- Take another rubber band and tie it just above the middle part of the body, to separate the head from the body. You may have to help the toddler shape the body a little so that the body looks bigger than the head.
- Cut the excess sock at the top.
- Using white felt, cut a white oval shape and paste it on the sock.
- Out of orange felt, cut a small triangular beak and glue it on the head.
- Using a black marker, draw two black eyes.
- Paste a ribbon above the rubber band on the body to make a scarf.
- Finally, cut one colorful sock and roll it up a little bit so that you could get a hat. Place this on the head of the penguin.
2. Paper Bag Penguin Puppet
The project has only 2 steps, making it very easy for young children.
Suitable For: Preschoolers and school-age children.
Supplies:
- White, orange, and black card stock or construction paper
- Black paper bags
- Scissors
- Glue stick
How to Do:
- Take an orange construction paper and cut out a little triangle to make the beak.
- With white paper, cut out an oval for the body and circles for the eyes. Little black circles are also needed to form the eyeballs. (white circles must be larger than the black ones)
- Glue the pieces together on the black paper bag in a way that the eyes and the beak are at the bottom of the bag.
3. Foot Print Penguin Craft
This is another easy, yet a messy activity that children are surely going to love.
Suitable For: Toddlers, preschoolers, and school-age children.
Supplies:
- White paper
- Black paint
- Orange paper
- Wiggly eyes
- A foot
How to Do:
- Begin the craft by painting only the outside edge of your child’s foot and leave the center area of the foot free of paint.
- Press the painted foot down on the white paper and make sure all the sides touch.
- Cut a small triangle out of the orange paper for the beak and paste it on the heel area on the white paper.
- Add a few more details like flippers using the black paint. Paste the wiggly eyes as well.
- Wait for the paint to dry out and your penguin footprint craft is ready! Additionally, you can cut out the penguin from the white paper and paste it on a construction paper to hang it!
4. Penguins in the Dark Craft
The penguins in the dark involve no scissors and are safe for children of all ages!
Suitable For: Toddlers, preschoolers, and school-age children.
Supplies:
- Black paper
- Fun chalk markers
- Googly eyes
- Glue
How to Do:
- Begin by drawing the penguin bellies (white vertical ovals) on the black paper.
- Draw a small inverted triangle with an orange marker at the top of the white oval to represent the beak. At the bottom, draw the feet using an orange marker.
- Paste googly eyes above the beak!
- Finish this craft by drawing small and big snowflakes around the penguin using white markers. Moreover, when drawing snowflakes, make sure to leave space around the penguin to show its outline.
5. Popsicle Stick Bow Tie Penguin Craft
This is an adorable winter project children can do!
Suitable For: Toddlers, preschoolers, and school-age children.
Supplies:
- Paint
- 6 popsicle sticks
- Orange and black paper
- Cardboard
- Bow tie noodle
- Scissors
- Glue
- Googly eyes
How to Do:
- Cut out a piece of cardboard and paste the popsicle sticks on it. The cardboard will help to keep the craft sturdy. The sticks must be angled in a way that the middle two sticks are higher than the others.
- Draw an oval with a black outline in the middle to make the stomach of the penguin.
- Paint the oval white and the area around black. Let the painting dry.
- Paste a small orange inverted triangle to form the beak and paint the bottom two edges with orange paint to form the feet.
- Glue googly eyes above the beak and the bowtie paste below the beak. Also, cut two leaf-shaped black papers and paste it at the side to form the flippers! The craft is complete!
6. Paper Cup Penguins
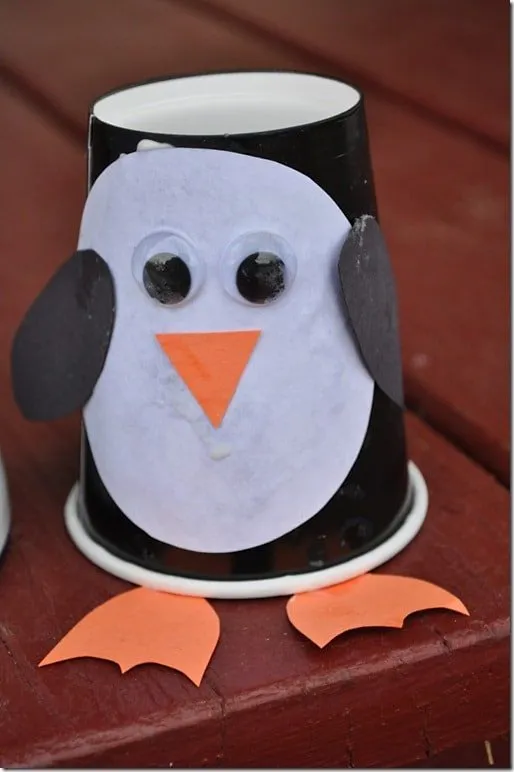
Source: Pinterest
Suitable For: Toddlers, preschoolers, and school-age children.
Supplies:
- 1 black paper cup
- Orange construction paper
- 2 googly eyes
- Black construction paper
- White paper
How to Do:
- Start by cutting a white circle out of the white paper, in a size that fits the paper cup.
- Paste the white circle on the black cup. If you do not have a black cup, then paint the cup you have using black paint.
- Cut a small inverted triangle from the orange construction paper and orange feet.
- Paste the feet at the opening of the cup and the beak at the center of the white circle.
- Paste two googly eyes over the beak.
- Cut two black leaves from the black construction paper and paste it on the edge of the white circle, in a way that the beak is in between. This forms the flippers.
7. Rocking Paper Plate Penguins
Make waddling penguins using this easy rocking paper plate penguin craft!
Suitable For: Toddlers, preschoolers, and school-age children.
Supplies:
- Paper plate
- Markers or acrylic paint
- Construction paper
- White glue or glue stick
- Printable penguins (optional)
- Googly eyes
How to Do:
- Fold the paper plate in half.
- Draw the outline of three penguins standing together on the paper plate. You could also use a printable template.
- Cut around the penguin outline. Make sure you do not separate the halves folded at the top.
- Paint the head completely in black. For the body, only paint the sides and leave the center part white.
- Let this paint dry.
- Cut out orange feet from the orange construction paper. Cut them a little longer than you originally want it so that the end can be folded and attached under the plate.
- Fold these orange feet and paste the folded area under the paper plate.
- Crease the feet so that these are perpendicular to each body.
- Cut out small orange triangles for the beak and paste these on the head. Attach googly eyes as well.
- Keep the craft on the table and give the paper plate a little tap, and watch the penguin waddle!
8. Cupcake Liner Penguin Craft
A cupcake liner penguin is one of the easiest penguin craft idea your kid will love!
Suitable For: Toddlers, preschoolers, and school-age children.
Supplies:
- Black cupcake liner (1 regular-sized and 2 mini-sized)
- White, orange, blue cardstock paper
- Googly eyes
- Scissors
- Glue
How to Do:
- Cut out a snowy hill from the white paper and paste it on the blue cardstock paper.
- Paste the regular-sized black cupcake liner on the white snowy hill. Cut out two 1-inch heart shapes from orange paper and paste it under the cupcake liner to form the feet.
- Fold the mini black cupcake liners in half. To form the flippers, cut a curve along the folded edge and glue these onto the penguin.
- Cut out a small 2-inch white circle from white cardstock paper and paste it onto the belly area of the penguin.
- Paste an orange triangle above the white belly to form the beak and glue googly eyes above the beak.
9. Paper Plate Yarn Weaving Penguin Craft
Paper Plate Yarn Weaving Penguin is an amazing activity for children who like to weave.
Suitable For: Preschoolers and school-age children.
Supplies:
- Black paint
- Paper plate
- White, black, and orange construction paper
- White yarn
- Paintbrush
- Glue
- Hole punch
- Yarn needle
How to Do:
- Begin by painting the paper plate black.
- While waiting for the paint to dry, you can cut out the eyes, beak, and feet of the penguin.
- For the eyes, cut out two larger white circles and two small black circles. Paste the black circles inside the white circles.
- Next, cut out an inverted triangle for the beak, out of the orange paper. Also, cut two heart shapes for the feet, also from the orange paper.
- For the flippers, you can cut two oval shapes out of the black paper.
- After the paint has dried, cut a circle at the bottom of the black paper plate and take that part out.
- Make holes around the circle on the paper plate. Take a big strand of white yarn and thread it through the plastic yarn needle, tying one end to the needle.
- Secure the other end at the back using tape.
- You can then start threading the yarn through all the holes in the paper plate.
- Now paste the eyes and the beak above the white yarn belly. Glue the flippers, one each side of the paper plate, and the feet at the bottom.
10. Hand-painted Penguin Magnets
Your kid will surely love this craft idea!
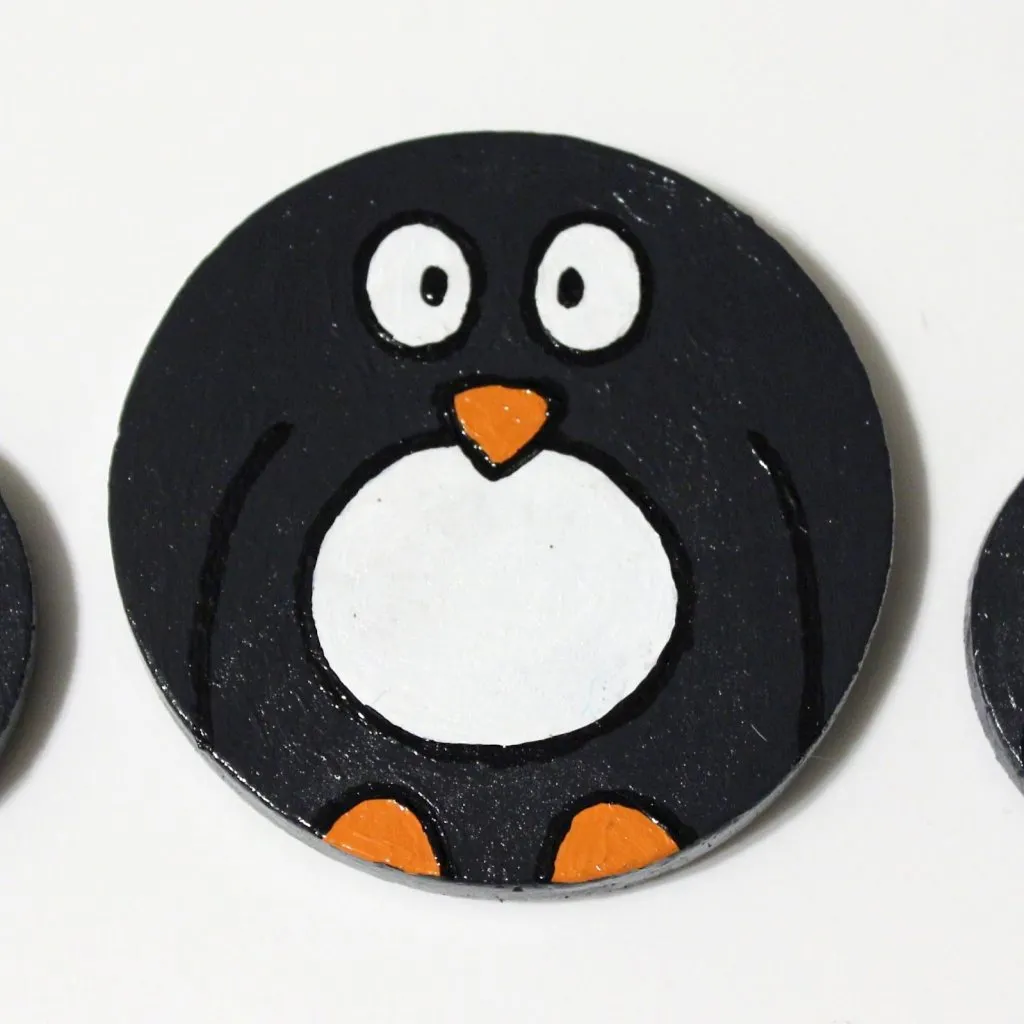
Source: Pinterest
Suitable for: Toddlers, preschoolers, and school-age children.
Supplies:
- 2-inch wooden discs
- Acrylic sealer
- Acrylic paint
- Magnetic tape (or glue and small magnets)
- Pencil
- Brushes
How to Do:
- Sketch the design of a penguin in pencil on the discs.
- Paint the body of the penguin and the sides of the magnet with dark gray.
- Fill everything else in black, except the belly and eye areas and these are white.
- Add feet and beak in orange. Outline the penguin using a detail brush and black paint.
- When the paint has dried, coat the magnet with acrylic sealer and attach a small piece of a magnet at the back!
With the stuff you find lying around the house, these penguin arts and crafts are sure to help your children have fun while improving their creativity.
Also Read:
Animal Crafts for Children
Fun Clay Craft for Children
Leaf Art and Craft Ideas for Children
Was This Article Helpful?
Parenting is a huge responsibility, for you as a caregiver, but also for us as a parenting content platform. We understand that and take our responsibility of creating credible content seriously. FirstCry Parenting articles are written and published only after extensive research using factually sound references to deliver quality content that is accurate, validated by experts, and completely reliable. To understand how we go about creating content that is credible, read our editorial policy here.
- Author


.svg)


")


