
How to Draw a Rakhi: 10 Easy Steps for Kids
Learn how to draw a rakhi for kids with easy steps and create a colorful Raksha Bandhan drawing.




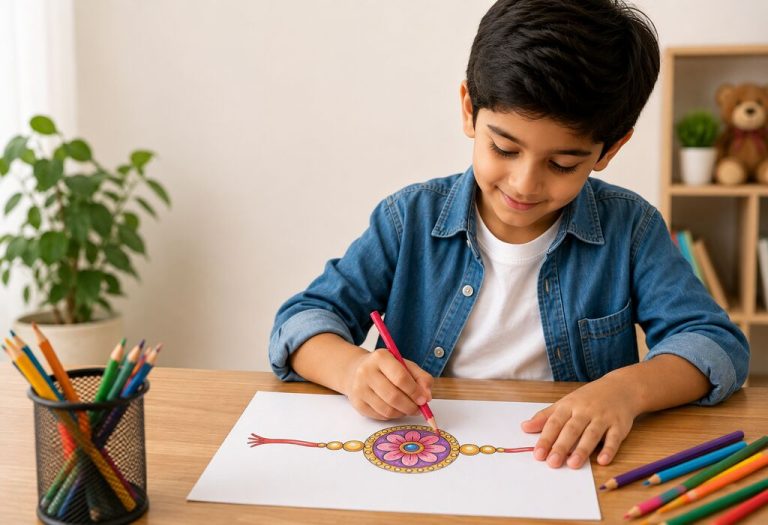
How to draw a rakhi is a fun and creative way for children to explore the beautiful tradition of Raksha Bandhan. A rakhi is a decorative thread traditionally exchanged during the festival, representing love, care, and the special bond between brothers and sisters.
In this tutorial, children will learn how to draw a colorful rakhi using simple shapes such as circles, petals, beads, and lines. The drawing is suitable for school projects, festival activities, greeting cards, coloring pages, and Raksha Bandhan decorations.
How to Draw a Rakhi: Easy Step-by-Step Guide for Kids
Rakhi drawing is a fun way for kids to celebrate Raksha Bandhan while exploring their creativity. In this easy step-by-step guide, children can learn how to draw a rakhi using simple shapes, patterns, beads, flowers, and decorative details. The activity is beginner-friendly and perfect for festive crafts, school projects, and coloring activities.
Materials Needed
Before you begin, collect the following materials:
- Drawing paper
- Pencil
- Eraser
- Black pen or marker
- Ruler
- Colored pencils, crayons, or sketch pens
- Gold or silver color
- Optional glitter or decorative stickers
Start with a pencil so that you can easily erase or correct the drawing.
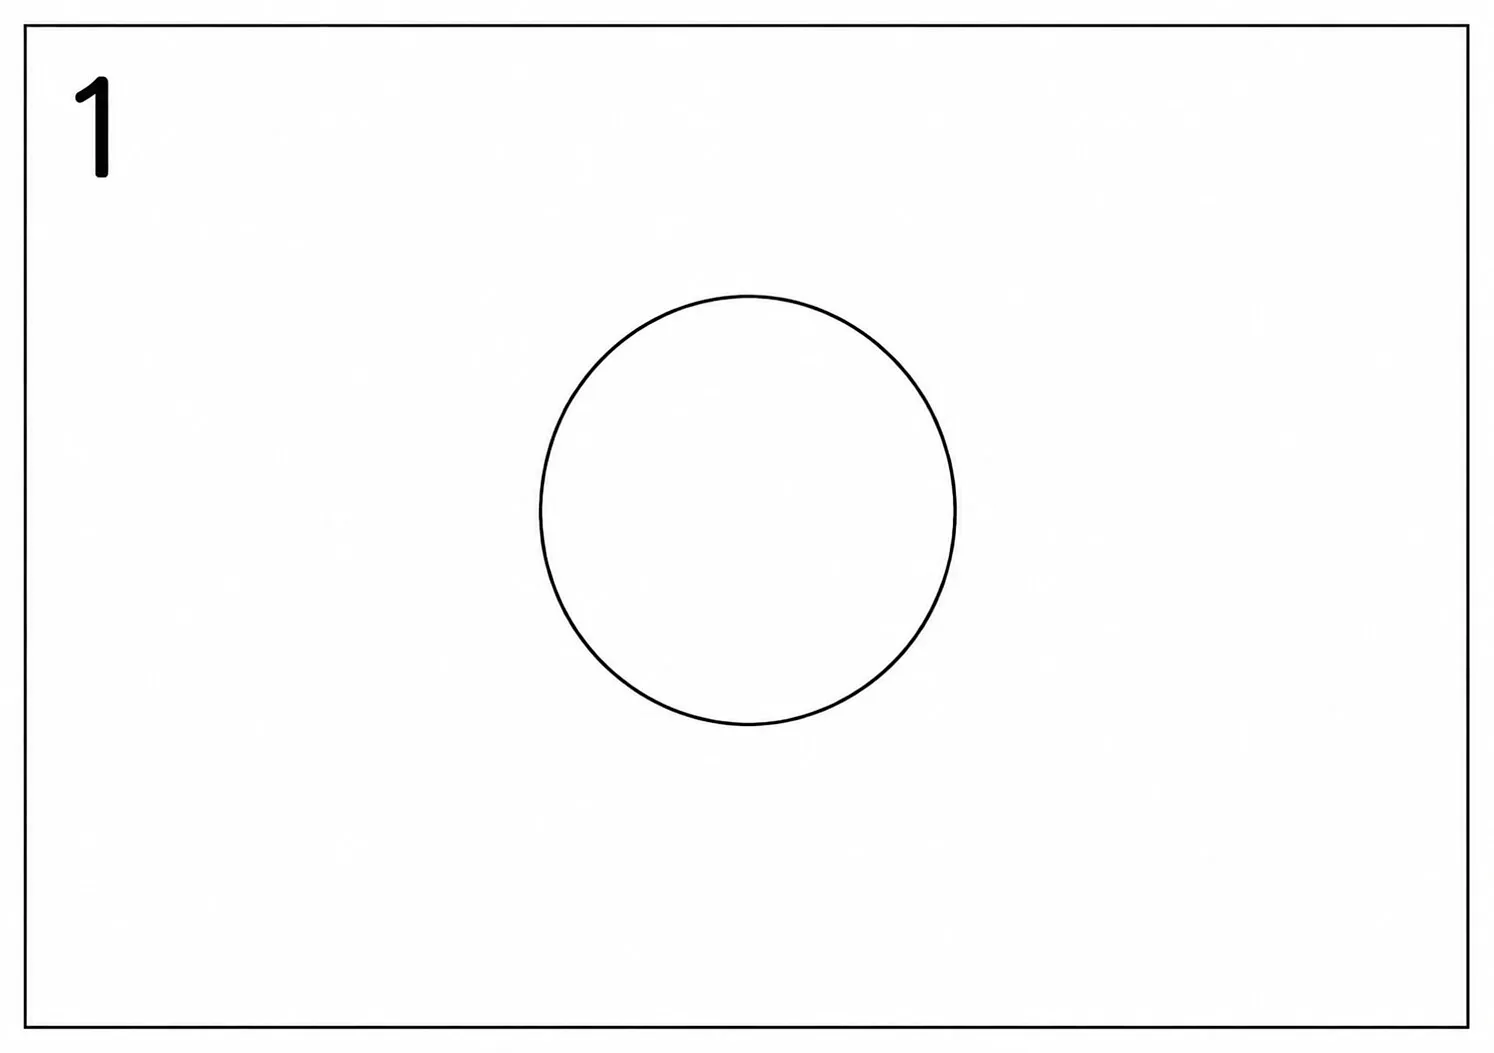
Step 1: Draw the Center Circle
Begin by drawing a medium-sized circle in the center of your paper. This circle will become the main decorative part of the rakhi. Try to make the circle as smooth as possible. You may lightly trace around a round object if you need help.
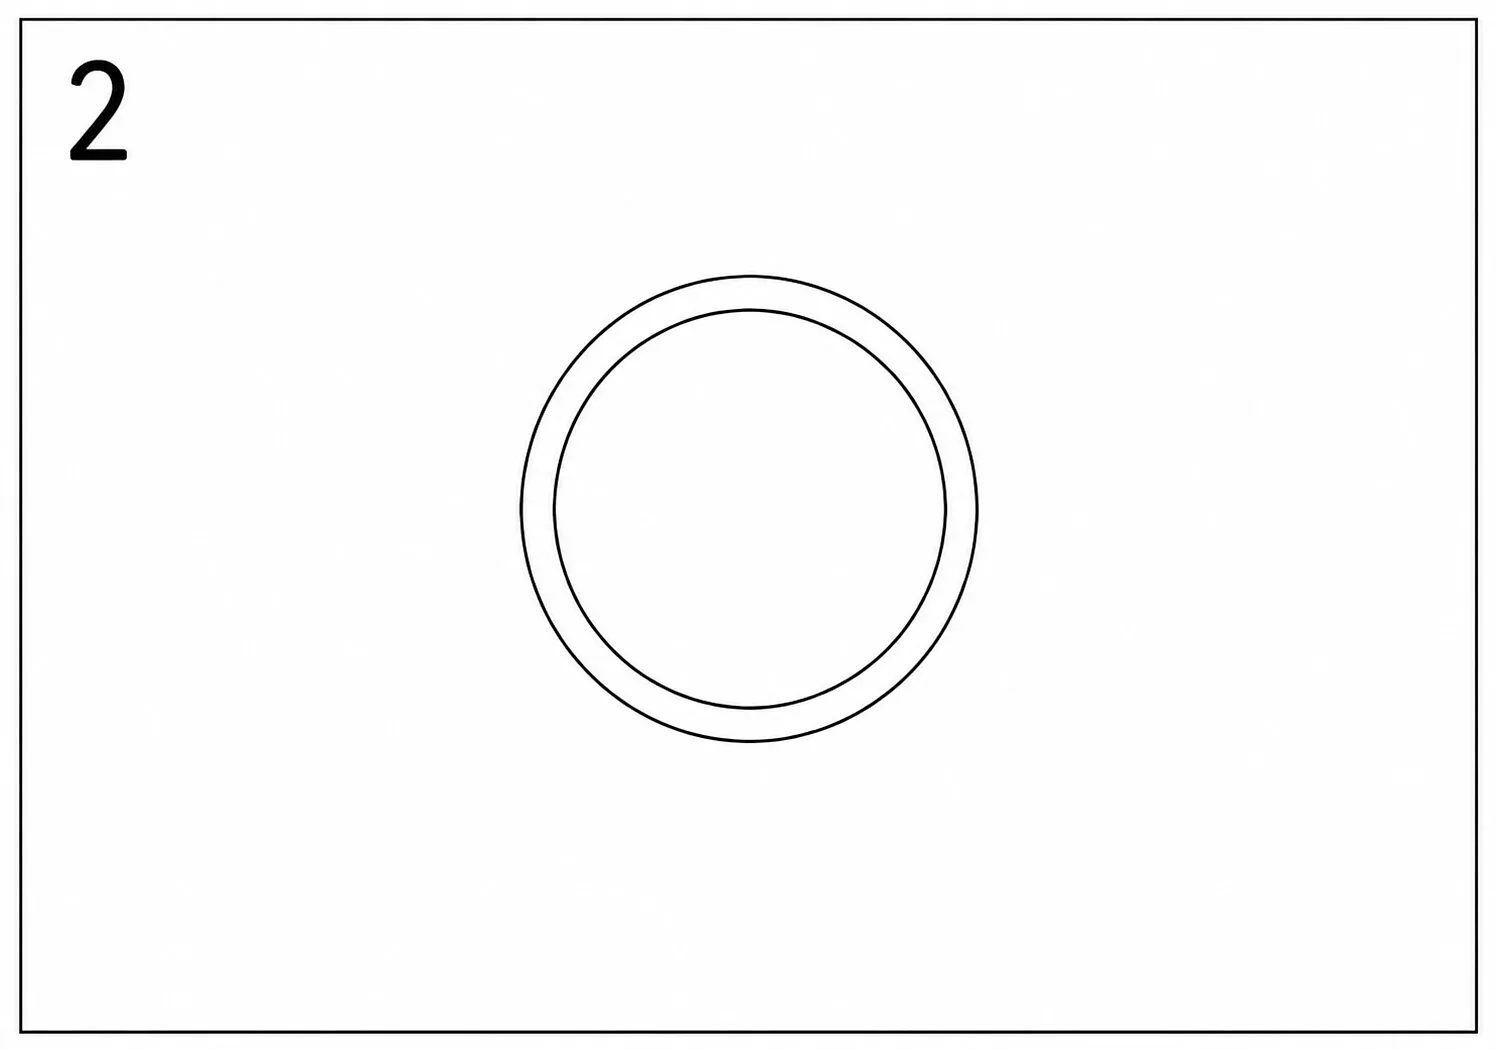
Step 2: Add a Second Circle
Draw another circle around the first circle. This creates a border for the central rakhi design. The two circles should be close together and evenly spaced. This outer ring will later be decorated with dots, beads, or patterns.
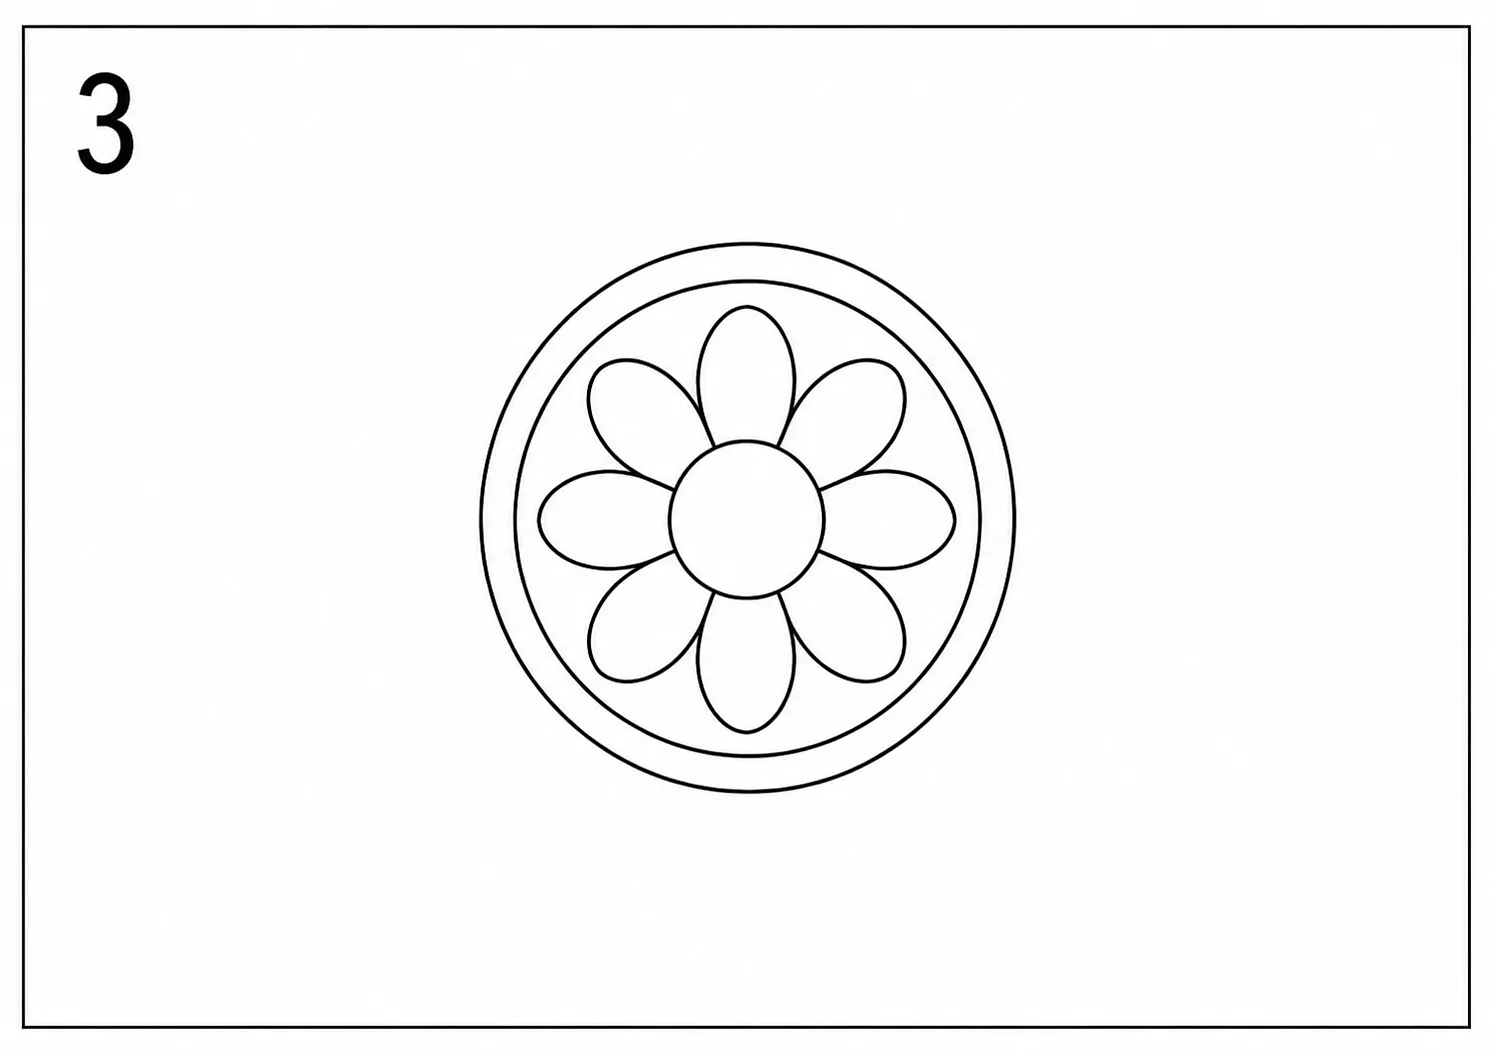
Step 3: Draw the Flower Design
Inside the center circle, draw a small circle. Around it, add several oval-shaped petals to create a flower. You can draw six, eight, or ten petals depending on the design you want. Try to keep the petals similar in size. This flower will give the rakhi a traditional and attractive appearance.
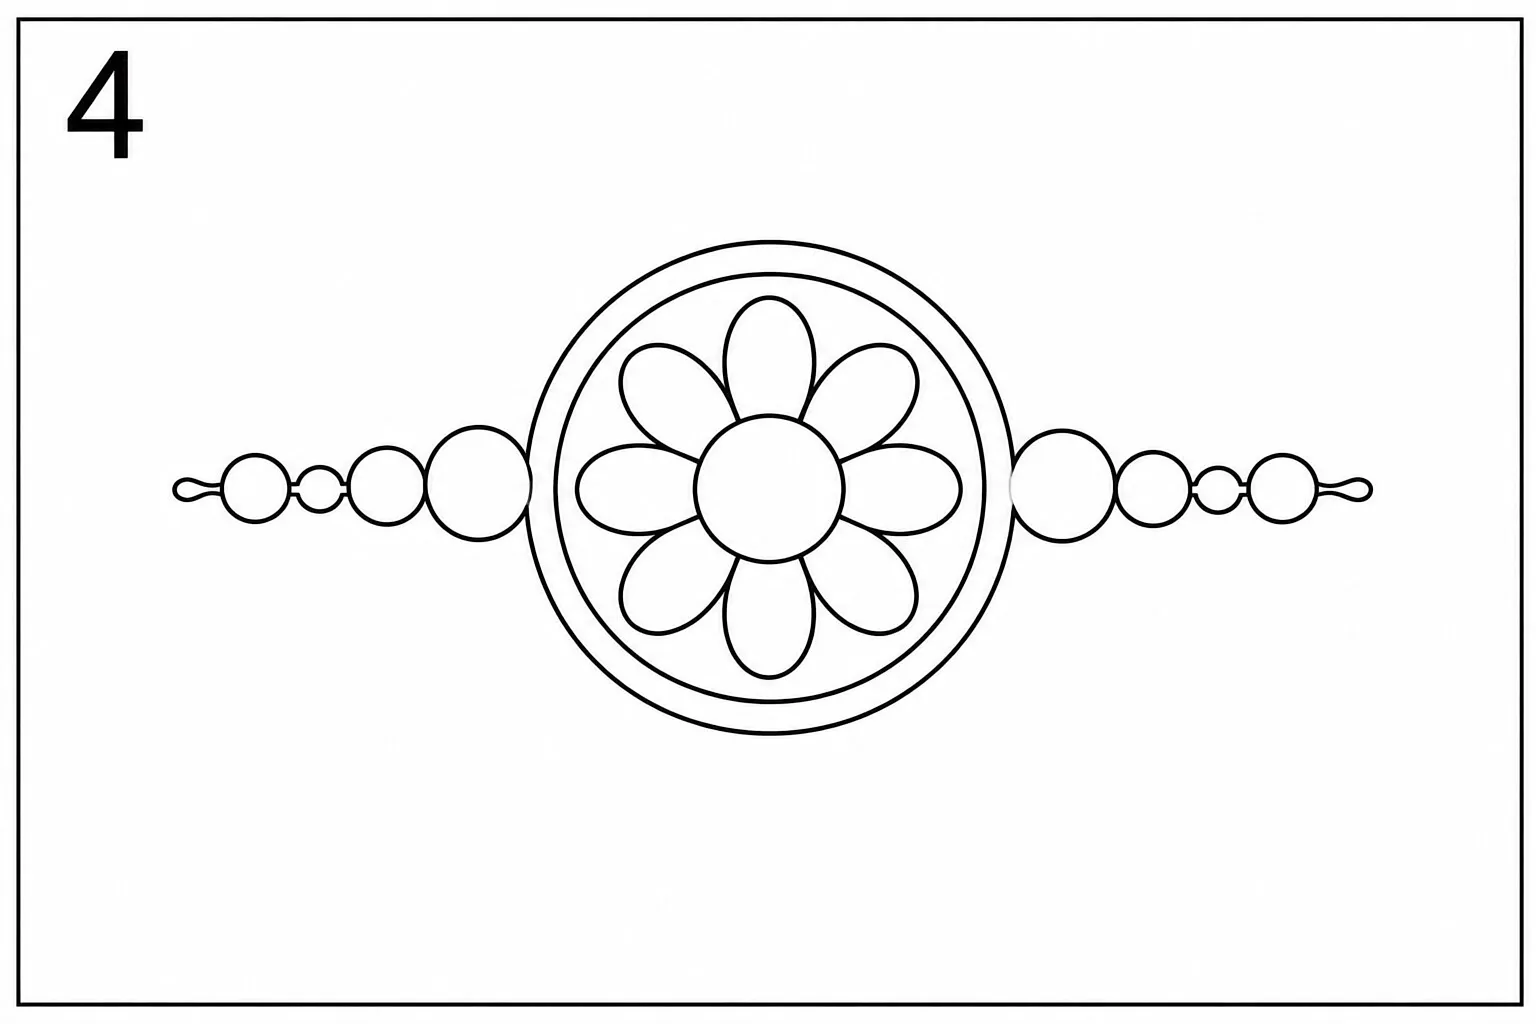
Step 4: Add Decorative Beads
Draw small circles on both sides of the central design. These circles represent decorative beads attached to the rakhi.Beads make the rakhi look colorful and festive.
You can use different sizes:
- One large bead near the center
- Two medium-sized beads beside it
- Several smaller beads toward the ends
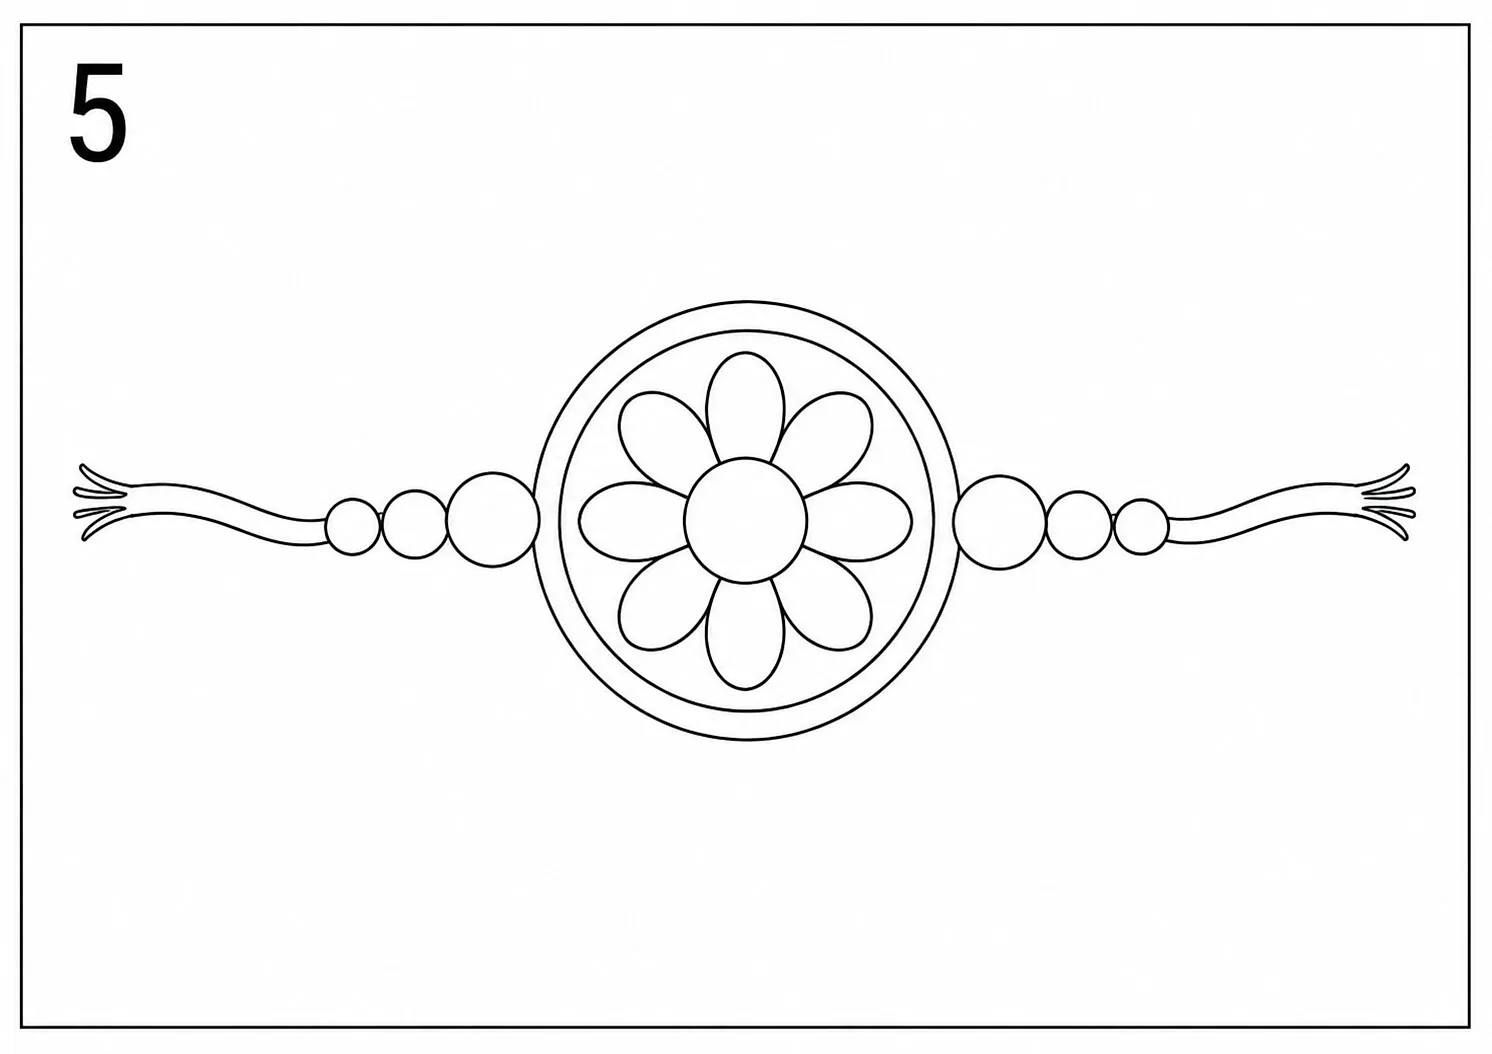
Step 5: Draw the Rakhi Threads
Use two long, slightly curved lines extending from the left and right sides of the central design. These lines represent the colorful thread or ribbon used to tie the rakhi. You can make the threads straight, wavy, or braided. At the end of each thread, draw a few short lines to show loose decorative strands.
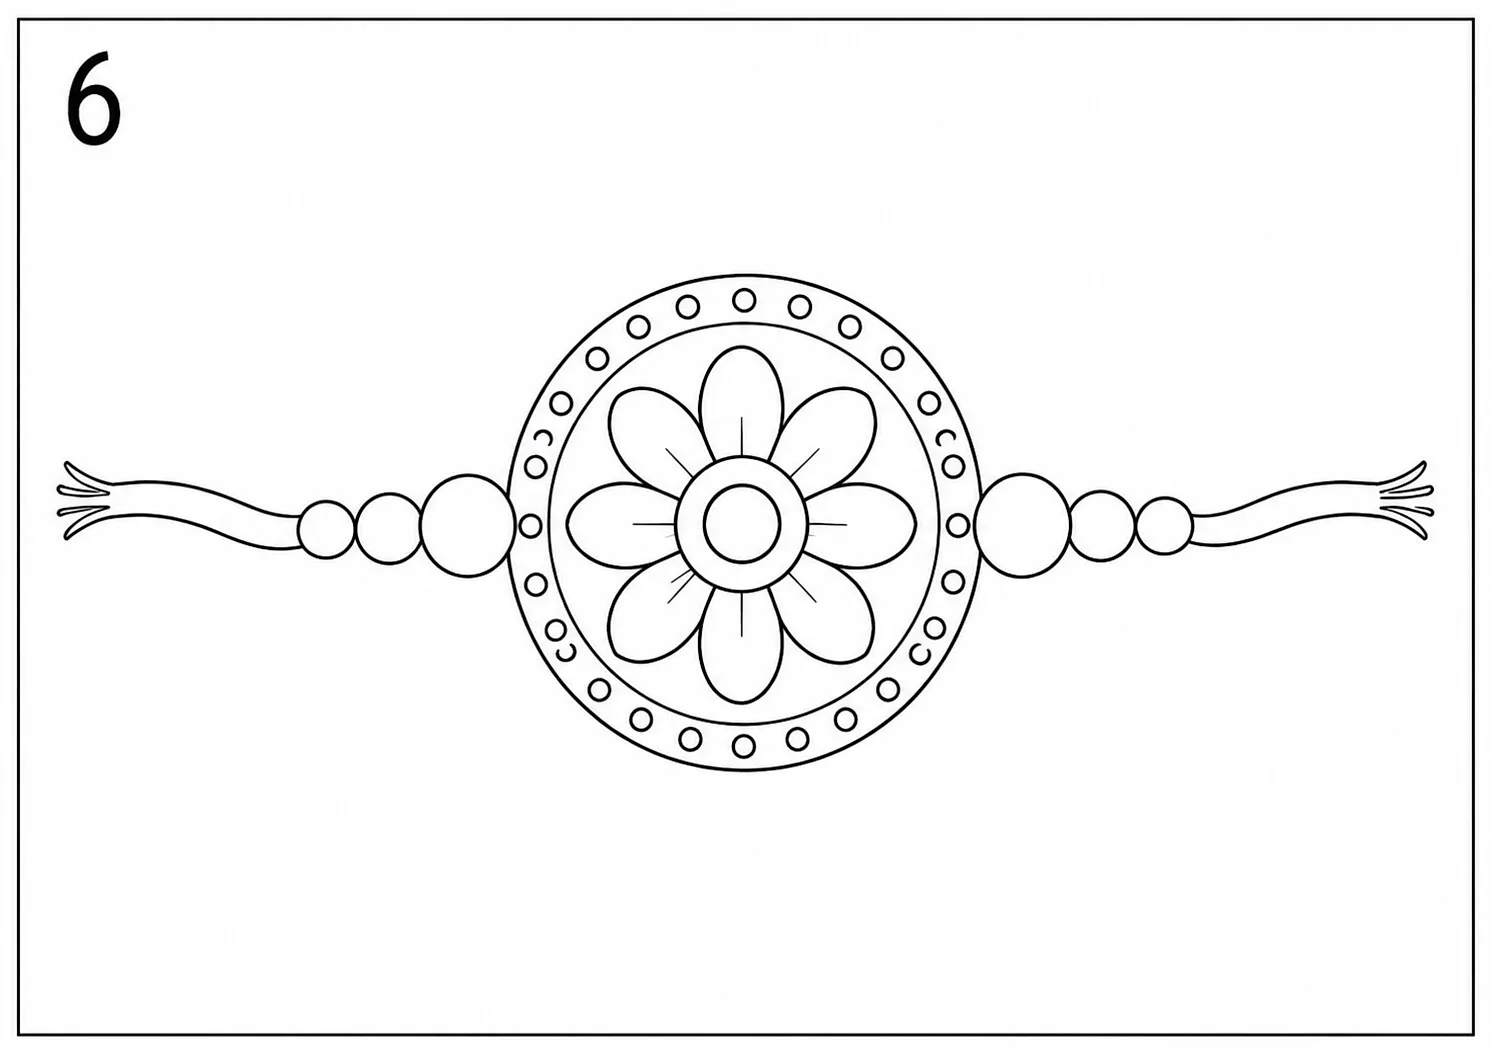
Step 6: Add Small Patterns
Decorate the outer circle with small dots, lines, triangles, or leaf shapes.
You can also add:
- Small flower petals
- Star shapes
- Curved lines
- Tiny circles
- Geometric patterns
Keep the design balanced by adding similar patterns on both sides of the rakhi.
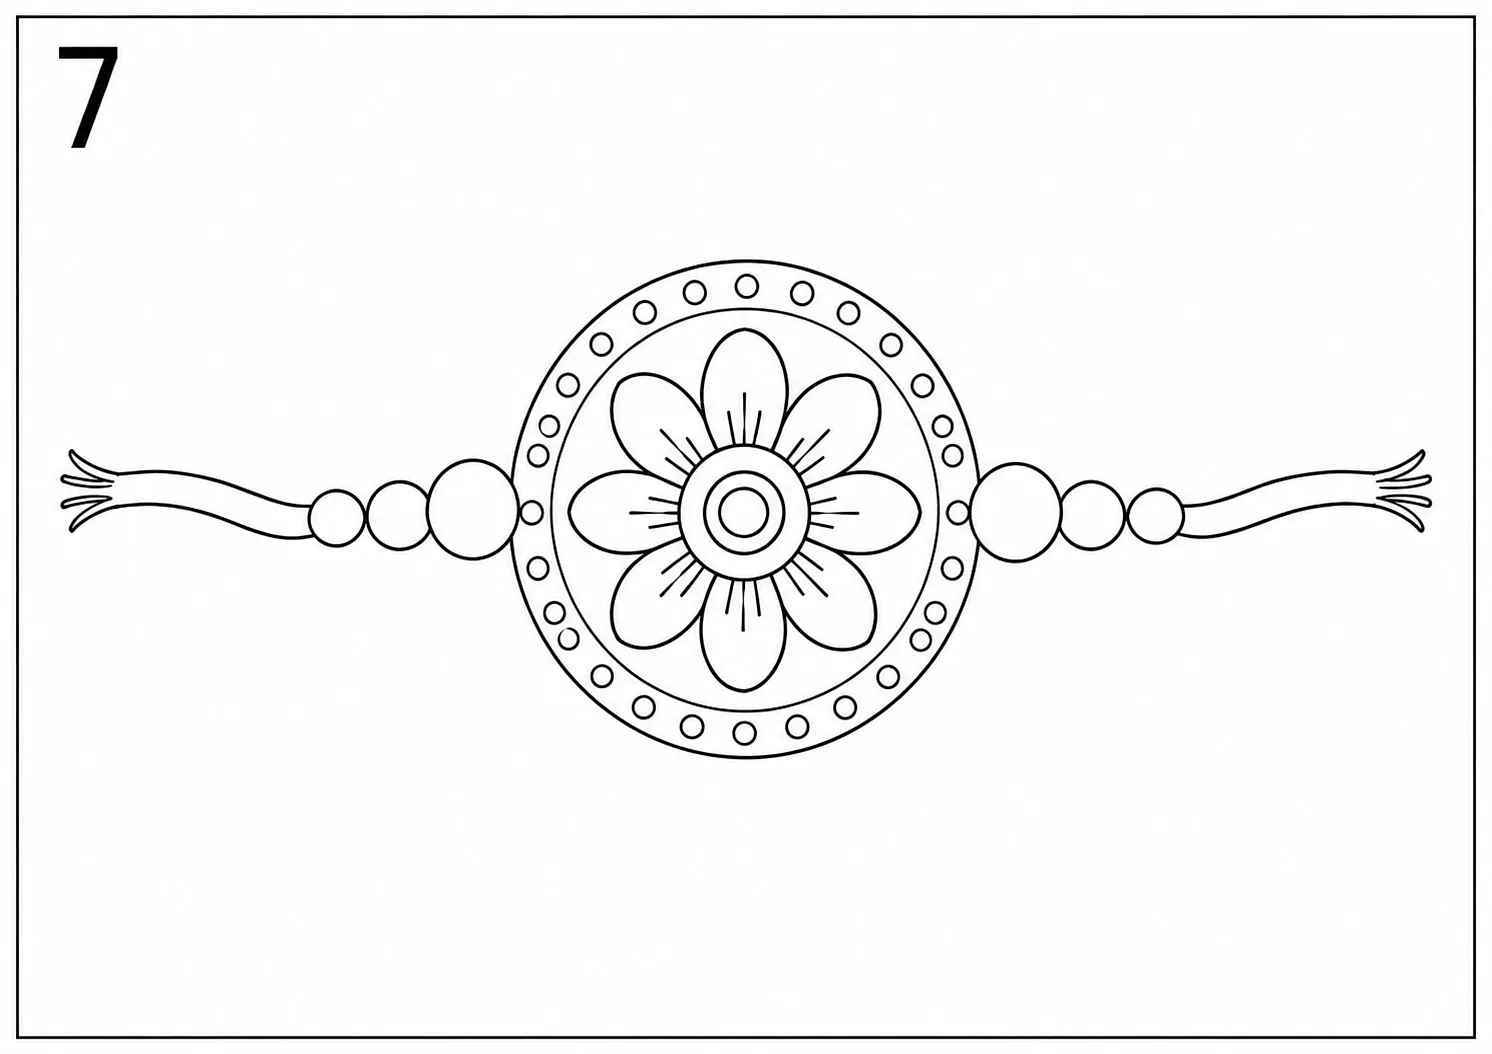
Step 7: Add Extra Details
Now improve the drawing by adding fine details.
You may draw:
- Lines inside the petals
- Small circles in the center
- Curved patterns around the border
- Lines on the beads
- Decorative shapes on the thread
These details make the rakhi appear more carefully designed.
Step 8: Color the Threads and Beads
Start coloring the outer parts of the rakhi.
Bright colors work especially well, such as:
- Red
- Pink
- Orange
- Yellow
- Purple
- Blue
- Green
You can color both threads the same color or use two different colors. For the beads, try using gold, yellow, silver, or orange.
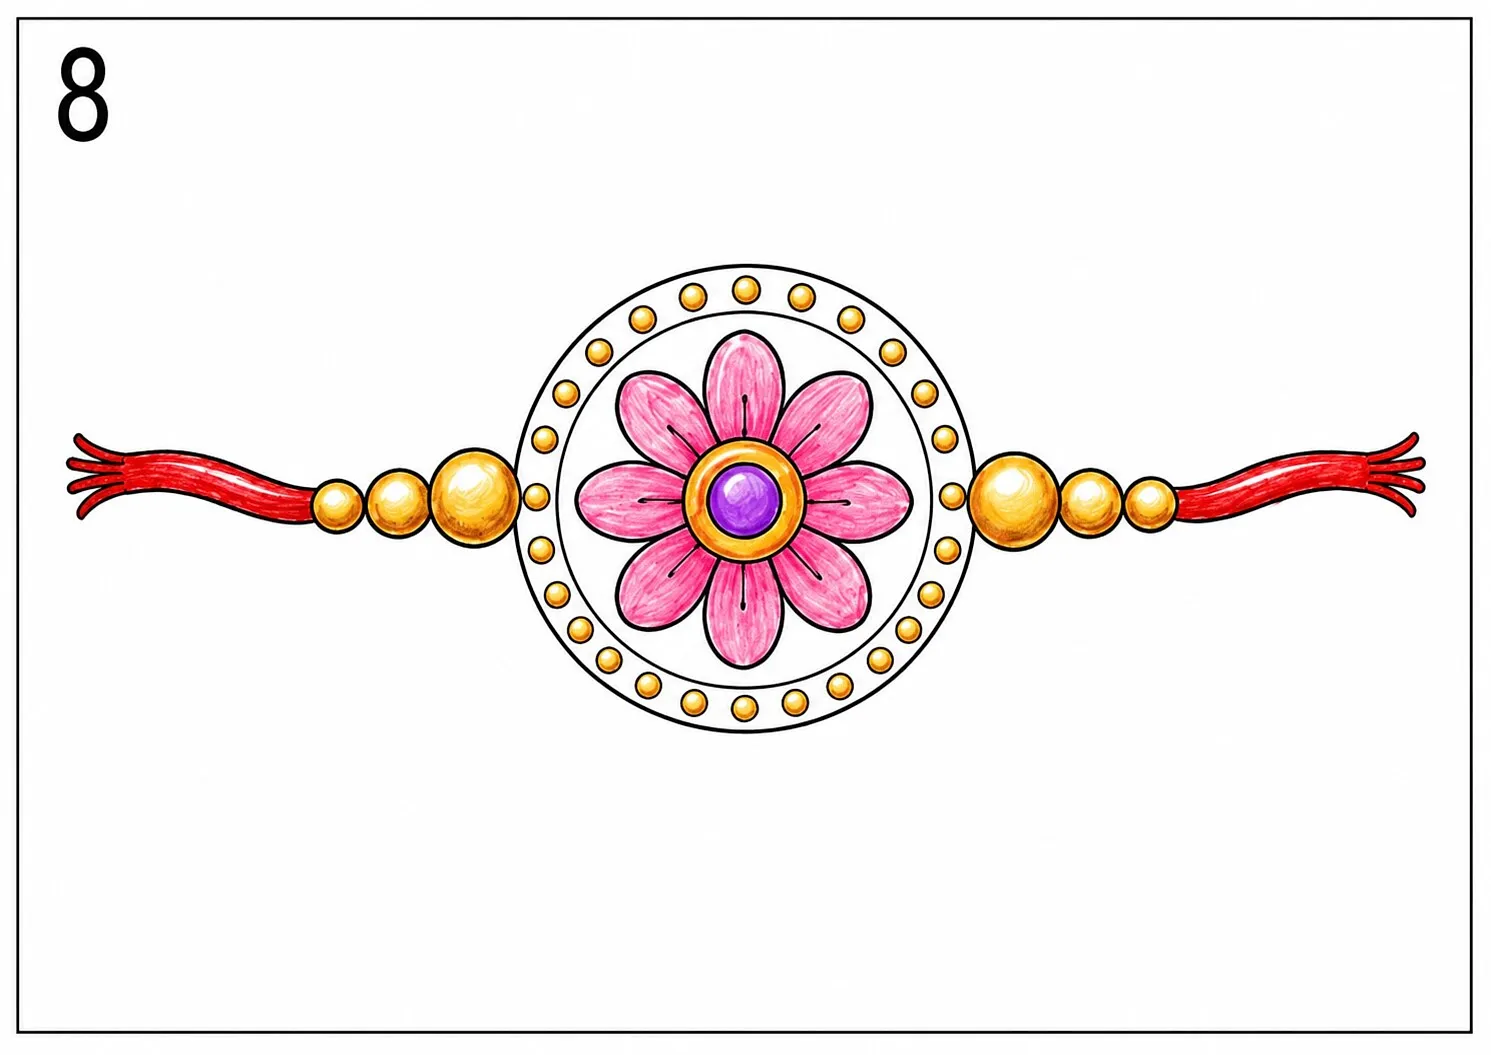
Step 9: Color the Center Design
Color the flower and the inner circle carefully.
For example:
- Use pink for the petals
- Use purple or blue for the center
- Use orange or gold for the outer border
- Use yellow for the decorative dots
Try coloring in one direction to keep the drawing neat.
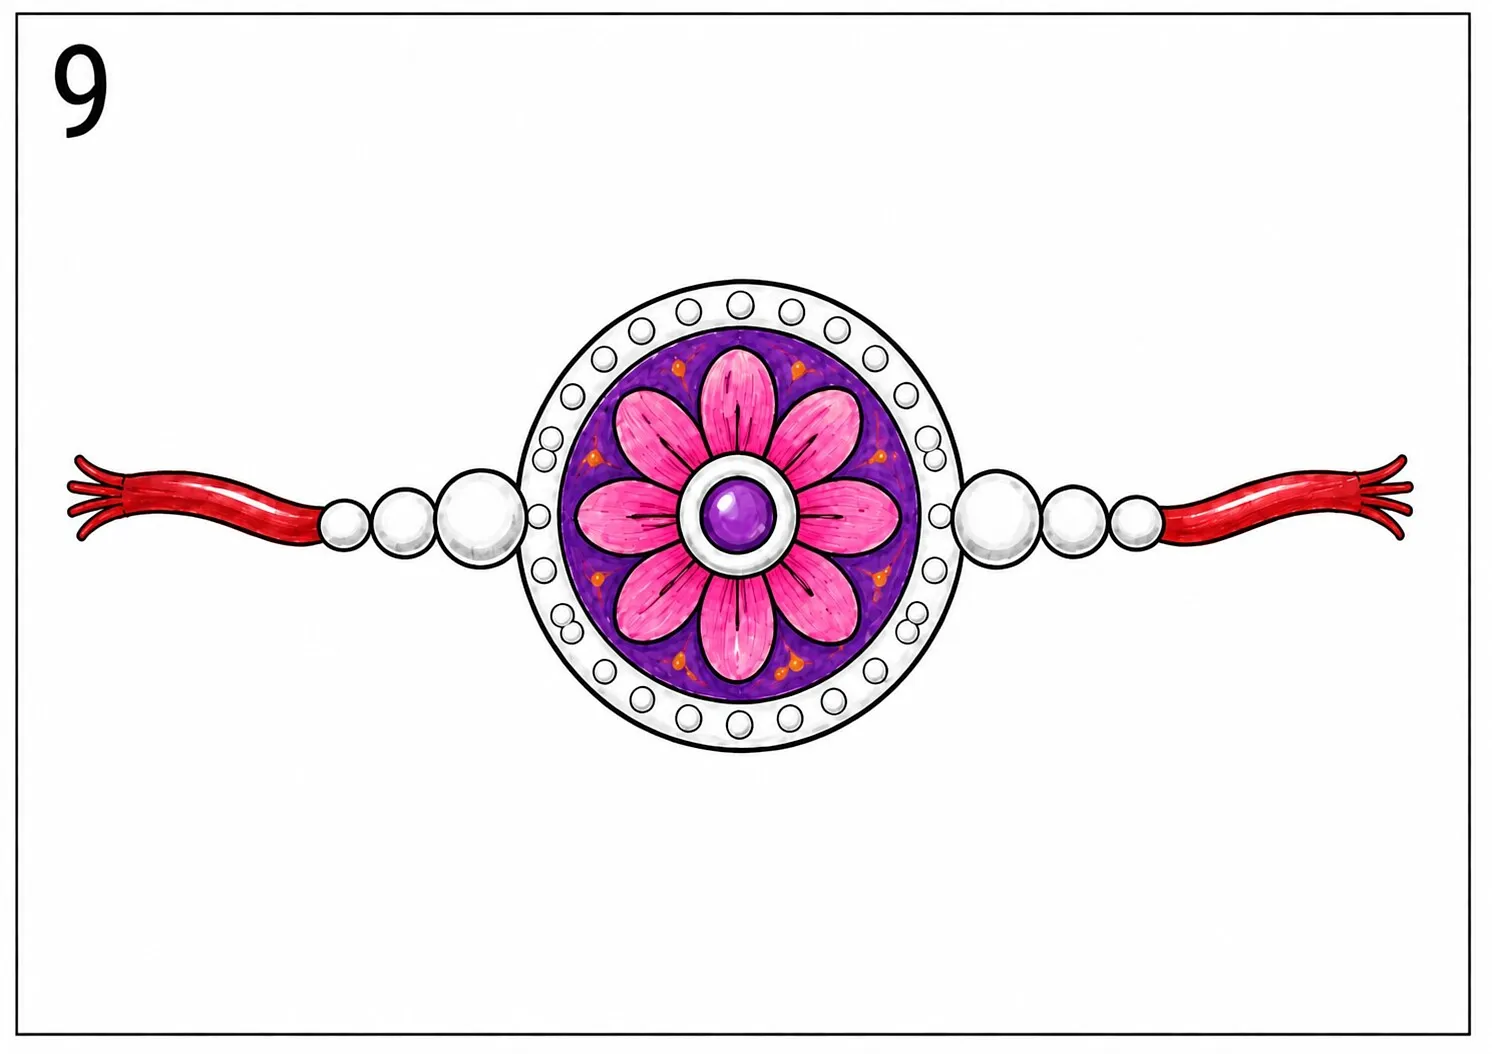
Step 10: Outline and Finish the Rakhi
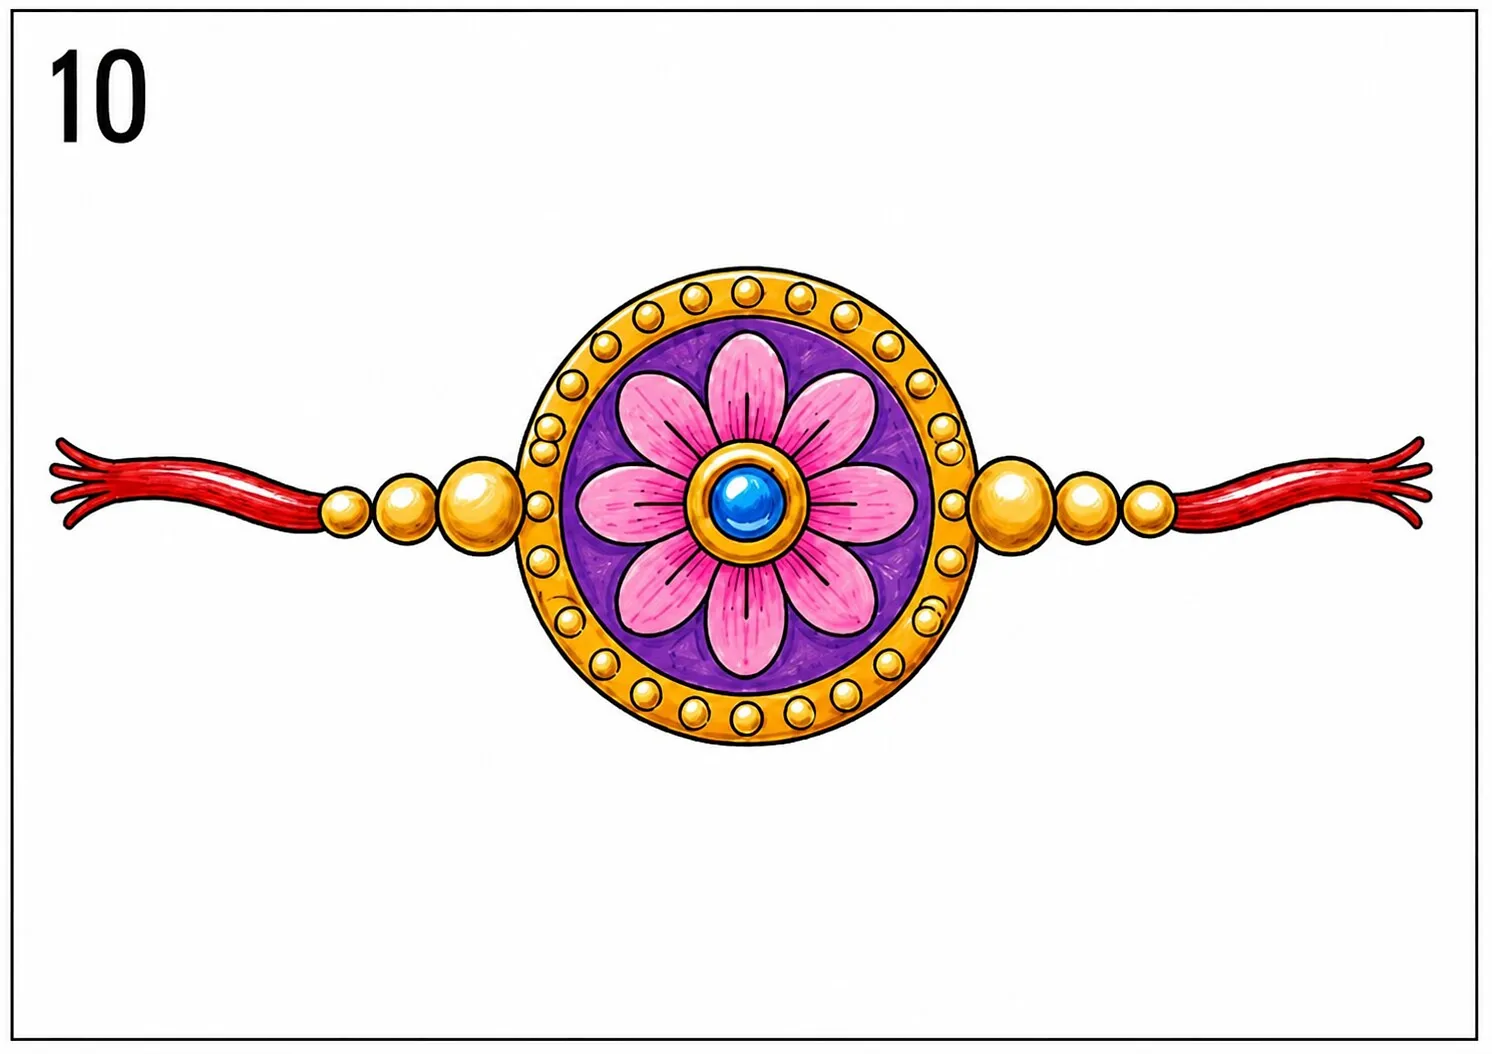
When the colors are dry or complete, outline the main design with a black pen or dark marker.
Trace carefully around:
- The outer circle
- The flower petals
- The beads
- The threads
- The decorative patterns
Erase any extra pencil marks. You may also add a little glitter or metallic color to make the rakhi look festive. Your colorful rakhi drawing is now complete.
Fun Ways to Decorate Your Rakhi Drawing
After drawing the rakhi, children can turn it into a complete Raksha Bandhan artwork.
They can:
- Draw a gift box beside the rakhi.
- Add flowers and stars around the design.
- Write “Happy Raksha Bandhan.”
- Draw two siblings celebrating together.
- Create a Raksha Bandhan greeting card.
- Paste the drawing on colored paper.
- Add cotton, glitter, sequins, or small stickers.
FAQs
1. What is the easiest way to draw a rakhi?
The easiest method is to begin with a large center circle, add a smaller circle and flower petals, then draw beads and threads on both sides.
2. Which colors are best for a rakhi drawing?
Bright colors such as red, pink, orange, yellow, purple, blue, and gold work well for a festive rakhi.
3. How can I make my rakhi drawing look realistic?
Add shadows to the beads, use darker outlines, include small decorative patterns, and use gold or silver colors for the border.
4. Can this drawing be used for a school project?
Yes. It can be used for Raksha Bandhan homework, festival artwork, greeting cards, classroom displays, and coloring activities.
Drawing a rakhi is a simple and enjoyable way for children to celebrate Raksha Bandhan. By using basic shapes and following each step carefully, anyone can create a colorful rakhi design.
Start with the center circle, add the flower and beads, draw the threads, and finish with bright colors and decorative details. Most importantly, enjoy the creative process and make the design your own.
Also Read:
Story of Raksha Bandhan
Essay on Raksha Bandhan
Raksha Bandhan Gift Ideas
Rakhi Making Ideas for Kids
Was This Article Helpful?
Parenting is a huge responsibility, for you as a caregiver, but also for us as a parenting content platform. We understand that and take our responsibility of creating credible content seriously. FirstCry Parenting articles are written and published only after extensive research using factually sound references to deliver quality content that is accurate, validated by experts, and completely reliable. To understand how we go about creating content that is credible, read our editorial policy here.
- Author


Related Articles
-
This Unique School is Making Learning Magical for Little Kids
-
PlayDoh Helps to Prepare My Kid for School
-
Creative DIY Teepee Ideas for Kids
-
Famous Super Why Characters That Will Encourage Your Kid to Read More
-

30 Fun & Amazing Spring Activities for Toddlers, Preschoolers and Kids
-

12 Best Fun Roblox Games for Kids


.svg)