DIY Shoebox Craft Ideas for Kids


In this Article
View More
People usually have lots of empty shoeboxes which can be re-purposed to make something fascinating. Kids can not only recycle these shoeboxes to fashion something useful but can also utilise them to create something entertaining for themselves. Shoeboxes can inspire so much fun as they have unlimited play potential! Making things out of shoeboxes is a great way to keep your kids constructively occupied during their vacations.
Why is a Shoebox a Perfect Prop for Art and Craft Activities?
Shoeboxes are ideal for kid’s art activities as they can be easily transformed into fun toys and cool crafts. From a toy train to an elaborate dollhouse, the possibilities with shoeboxes for imaginary play are simply endless. Parents will also get a good opportunity to ignite their kid’s imagination and encourage creative thinking. In any case, recycling things can be an interesting activity for kids. It can also help keep them away from their electronic gadgets for a while.
Easy Shoebox Crafts for Children
Art and craft with shoebox can stimulate several make-and-play activities. Some exciting empty shoe box craft ideas for children can be:
1. Aquarium
Your kid can explore his love for colours and sea animals with this cardboard shoebox aquarium.
What You Will Need
- A shoebox (with a lid)
- Watercolours
- Thread
- Scissors
- Glue
- Tape/stapler
How to Make
- Cut 6 to 7 fish-shaped figures from the cover of an empty shoebox.
- Let your child paint the figures using the watercolours.
- Tilt the shoebox and draw a few sea stars and shells on the floor of the aquarium.
- Paint the background blue and glue the fish-figures on it.
- Punch a tiny hole in the other fish-figures. Slide the thread through the hole and tie a small knot.
- Staple or stick the thread on the inside of the top panel of the shoebox to complete the colourful aquarium.

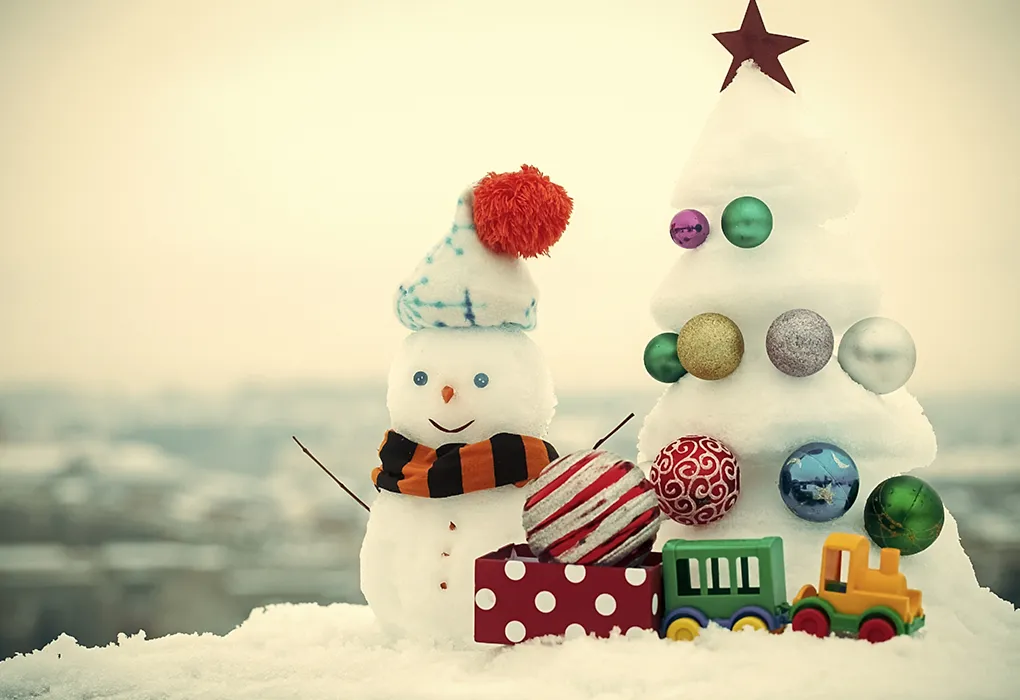
2. Shoebox Train
You can teach your kid about trains and share interesting facts while making this fun train craft.
What You Will Need
- Few shoeboxes
- Black construction paper
- Toilet paper tube
- Tape and glue
- A pair of Scissors
How to Make
- Draw windows on the lids of the shoeboxes and cut them out. Ensure that all the cut-out windows mirror each other and are of the same size.
- Tape these lids on either side of the empty shoeboxes on the inside.
- Take shoebox lids and cut out all its sides. Curve them to cover the taped tops to form the roof.
- Cut off the sides of one more shoebox lid. Curve it and place it onto the front of one of the shoeboxes to fashion the engine of the train.
- Glue a toilet paper tube on it to make a smokestack.
- Roll a strip of construction paper to form a cone and put it on the smokestack’s top.
- Cut small circles from construction paper and stick them on the outside of the shoeboxes as train wheels.
- Punch some holes through the shoeboxes. Place the engine first followed by other shoeboxes and thread a string through them.
- Put another string on the engine so that your kid can pull the train.
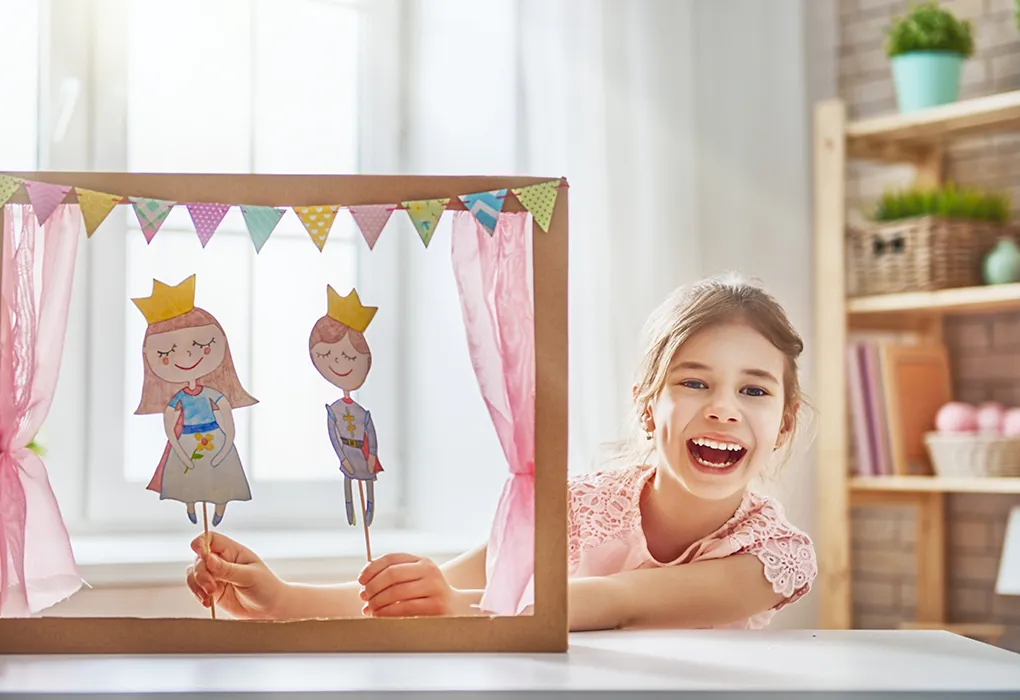
3. Puppet Theatre
Your kid can design a puppet theatre to showcase his puppet show and enjoy making up stories.
What You Will Need
- Old greeting cards or magazines for cut-out characters
- Lollipop sticks
- Straws
- A shoebox
- A black marker to draw details
- Glue stick
- Scissors
How to Make
- Draw the shape of theatre curtains onto the lid and cut out around it to show the stage is open.
- Make contour lines on the curtains and use embellishments like little stars for a more realistic look.
- Cut out two rectangles on the short sides of the shoebox for the puppets to access the stage.
- Decorate the background as per your imagination with glitter or watercolours.
- Select images from the magazines or greeting cards to turn into your puppet characters, scenery, props according to your story.
- Cut the images out and tape them to lollipop sticks or drinking straws so that you can easily move them around.
- Once the stage and characters are ready, put on a show. Shine a flashlight on the stage for added drama.
4. Sensory Game
You can build a sensory station out of a shoebox which may challenge players to guess objects using their senses of smell and touch.
What You Will Need
- Different things found about the house
- A shoebox
- A pen and paper for players (optional)
- A bag to hide the items
How to Make
- Cut out a hand-sized hole right in the middle of the top of a shoebox.
- Decide upon the number of items to be shown and fill the box with them.
- You can opt for cotton balls, toy cars, small plastic balls, marbles and so on.
- Have the player reach inside and then define the object he touches using vocabulary like hard, smooth, soft, rough.
- Ask him to guess the name and talk a little about it.
5. Farm/Zoo
Children usually love playing with animals. They can create an animal house from a shoebox and indulge in inventive role-play.
What You Will Need
- A shoebox (with a lid)
- Straws
- Small animal figures
- Playdough to model animals of own choice (optional)
- Tape and scissors
- Watercolours
How to Make
- Tape one long side of the lid onto the shoebox.
- Cut the two corners of the other long side of the lid so that it can flap open and close.
- Place the shoebox on its side. Flap open the lid and use it as an outdoor area for your farm.
- Paint the background and the base of the shoebox to create caves, waterfalls, grass.
- Fill the space inside the box with animal figures, use straws to make fences, smaller cardboard boxes for animal houses.
6. Monster Head Mask
Your kid can give a free reign to his imagination and sculpt a wearable shoebox head mask.
What You Will Need
- A shoebox
- Toilet paper tubes
- Egg cartons
- Construction paper
- Stapler/tape
- Watercolours
- Scissors
How to Make
- Set aside the top of a shoebox and paint the rest in a colour of your choice.
- Curve the shoebox lid and join its short ends to make a triangle.
- Tape it on the top of the shoebox. Draw big ears and eyes on construction paper and cut them out.
- Glue the ears and eyes to the head. Fasten toilet tubes on the head for nostrils.
- Use an egg carton to make teeth and mouth of the monster.

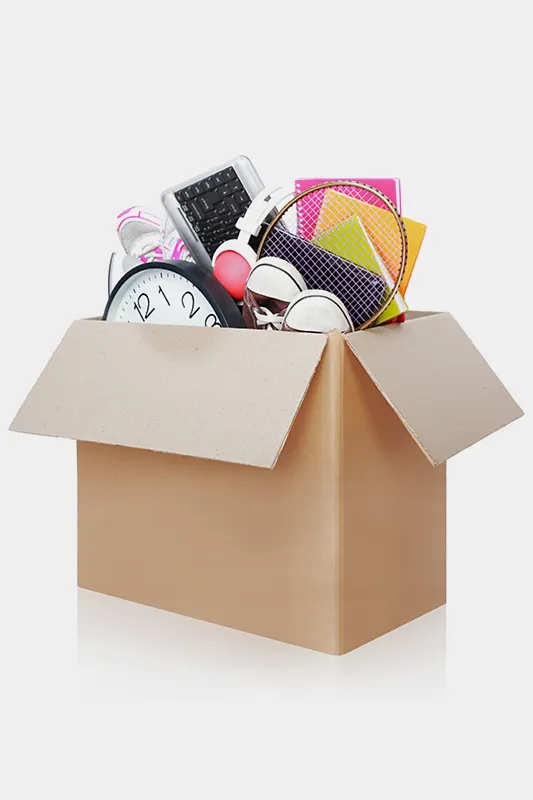
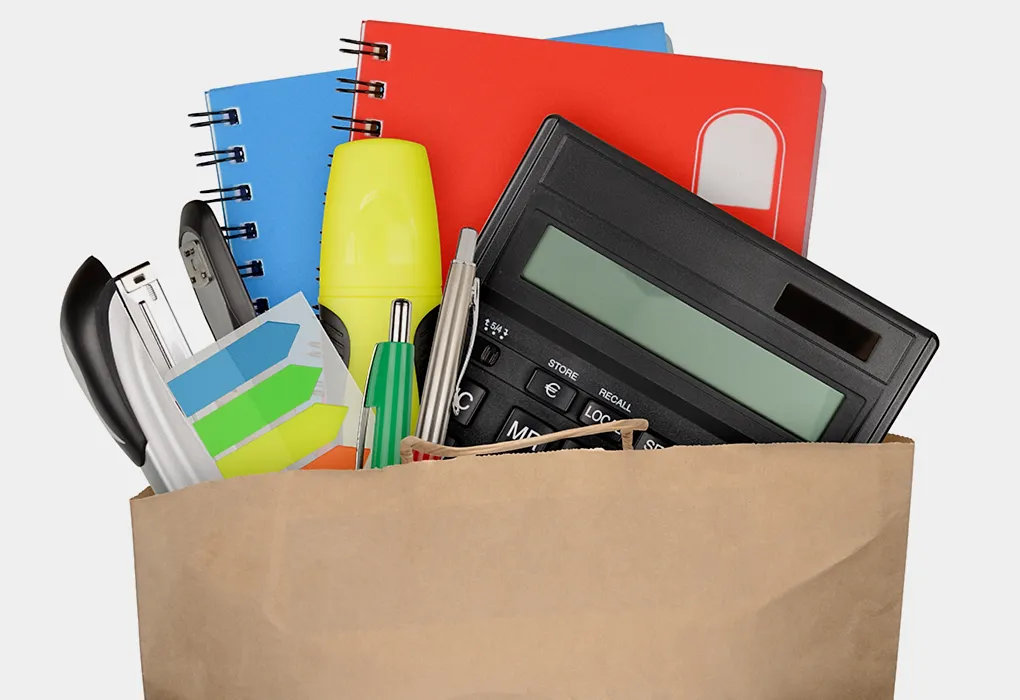
7. Desk Organizer
This can be used to manage stationery, jewellery, art supplies and may make a lovely gift too.
What You Will Need
- A shoebox
- Toilet paper tubes
- Small cardboard boxes
- Colourful papers/gift wrapping or watercolours
- Glue stick
- Stickers, ribbons to decorate
How to Make
- Cover the whole shoebox with gift wrapping paper or any coloured paper of choice.
- You can use watercolours to paint it as well.
- Cover the toilet tubes and small cardboard boxes with contrasting coloured papers.
- Arrange them inside the box to create sections as per requirement and then stick them to the base.
- You can improvise and use a shoebox to fashion a treasure box or a keepsake box.
- You may like to use old photographs, stickers, ribbons to decorate the box on the outside.
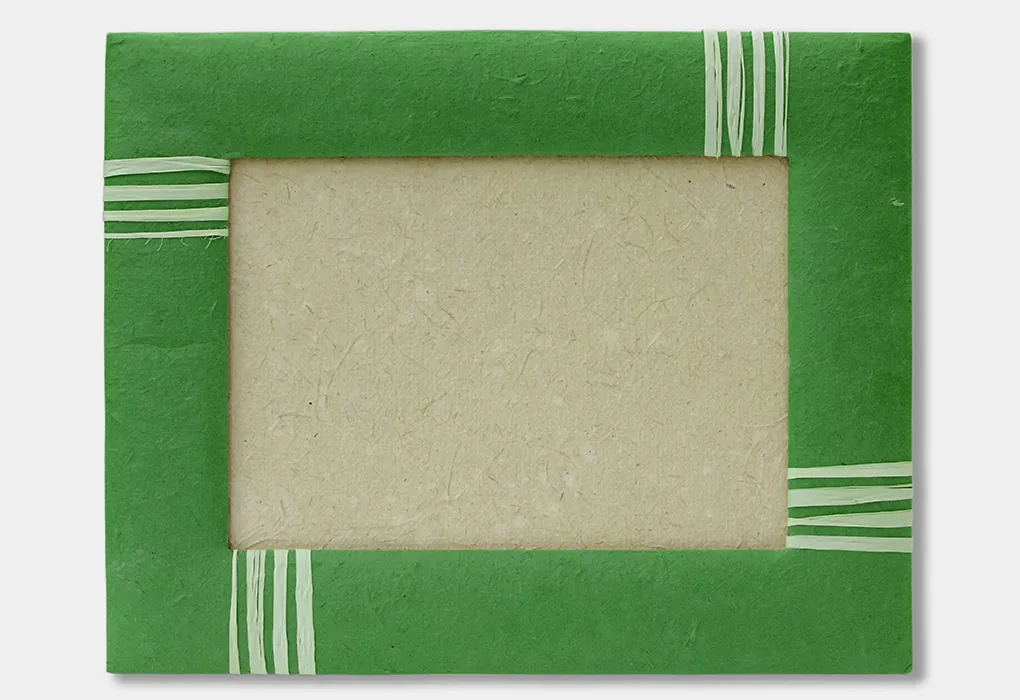
8. Picture Frame
Construct fancy photo frames from shoeboxes and create a personal picture gallery to adorn your room’s walls.
What You Will Need
- Shoeboxes with lids
- Ribbon, stickers, fabric scraps for decoration
- Watercolours
- Glue stick/tape
- Scissors
How to Make
- You can style many types of frames with a shoebox like a shadowbox frame, convex frame.
- To make a shadowbox frame, place the shoebox lid so that its edges point upwards. Cover it with gift wrapping paper or paint it. The framework will be a couple of inches deep and is better suited for art which is dimensional meaning it sticks out.
- For making the convex frame, lay the shoebox lid with its edges pointing downwards. Paste the picture on top and decorate the rest of the space with stickers, ribbons.
- Use tape to stick the pictures so that you can swap them from time to time.
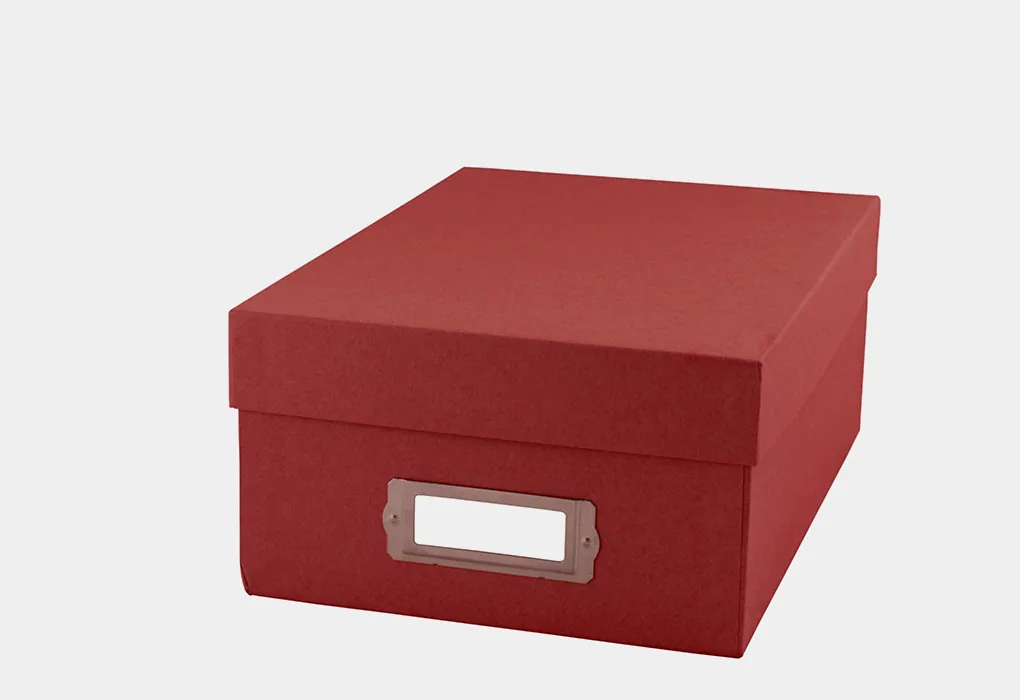
9. Mailbox
This can be an excellent way to encourage kids to write letters and mail them.
What You Will Need
- A shoebox with a lid
- Red coloured paper or red paint
- Black marker
- Glue stick
- Scissors
- Fabric scrap to decorate
How to Make
- Paint the shoebox red or cover it neatly with a red coloured paper inside out.
- Do the same to the lid of the shoebox.
- Set the shoebox on its short side so that it stands vertically and the lid is at the back.
- Cut out a thin rectangular opening in the Make sure it is large enough for the letter to pass through easily.
- Write “Mail” on the top front with a black marker.
- Add any decoration of your choices like cut-outs of flowers or ribbons.
- Motivate your kid to transpire a letter-writing plan where he writes at least one letter every
- He can mail the letters in the magical mailbox and receive replies from you or your partner.
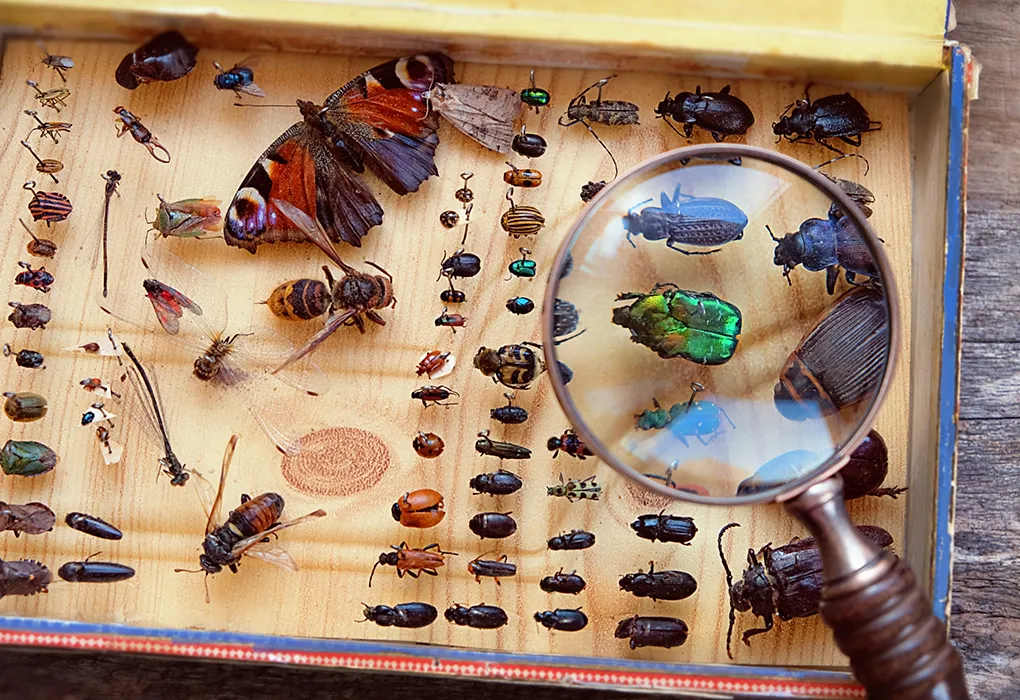
10. Bug Hotel
This can be a fun way to stimulate your kid to bond with nature and learn about insects.
What You Will Need
- A shoebox
- Twigs and leaves
- Small cardboard boxes
- Coloured markers
How to Make
- Use small cardboard boxes to build compartments in the shoebox.
- Fill the space with leaves, twigs, dried
- Decorate the box with stickers or drawings on the outside.
- Punch a few holes along the sides of the shoebox to form openings for insects to enter. The extent of the holes may depend on the kind of bugs you wish to attract.
Parents may like to direct their kid’s shoebox adventures keeping in mind the age and ability of the kid. Fortunately, the shoebox is such a great prop that will suit kids of all ages and also provide ample chance for creative play.
Also Read: Innovative Animal Craft Ideas for Kids
Was This Article Helpful?
Parenting is a huge responsibility, for you as a caregiver, but also for us as a parenting content platform. We understand that and take our responsibility of creating credible content seriously. FirstCry Parenting articles are written and published only after extensive research using factually sound references to deliver quality content that is accurate, validated by experts, and completely reliable. To understand how we go about creating content that is credible, read our editorial policy here.
- Author


.svg)


")


