15 Easy Snowman Craft Ideas for Preschoolers & Kids
Winter is here, and it’s the perfect time for some fun indoor activities! Snowman crafts are one of the best signs of winter, and whether you live in a place with lots of snow or not, you can create your own cute snowmen inside your home. In this article, we’ve put together 15 easy and fun snowman crafts for kids. These brilliant snowman craft ideas are simple to make and use everyday supplies. They are perfect for displaying smiling snowmen inside your home, for a project in class, or just for having fun on a snowy day! Get ready to roll up your sleeves and create some frosty fun!
Creative Kid-friendly Snowman Crafts to Try This Winter
Check out these easy-to-make yet creative cute snowmen craft ideas you are going to love making with the children.
1. Snowman Thank You Cards
If the kids are planning on creating thank you cards for their teachers, then think snowmen!
Supplies:
- White cardstock
- Scissors
- Buttons
- Markers
- Dot markers
- Crayons
- Orange paper
- Shredded crinkle cut paper gift basket filling
- Glue
Instructions:
- Pre-cut many pieces of white cardstock in the shape of a snowman.
- This should be done by folding a piece of cardstock in half and drawing the outline of a snowman on the front half. Cut out the outline, leaving the back half attached to the card so that it opens and closes.
- Cut out a triangle from the orange paper and paste it on the nose area.
- Add buttons on the body of the snowman using dot markers. Paste two button eyes above the nose.
- The basket filler can be used as the arms, so paste these on the side.
2. Puffy Snow Paint Recipe
This amazing snow paint activity is perfect for building a spectacular winter snowman scene!
Supplies:
- White glue (1 cup)
- Shaving cream (2 cups, not gel)
- Flour (1/2 cup)
- Glitter
- Construction paper
- Googly eyes
- Orange paper
- Buttons
Instructions:
- In a medium-sized bowl, mix the white glue, shaving cream, and flour.
- Glitter is optional but it can be used if you want the snow to be sparkly.
- Using a spoon, make a snowman on the construction paper.
- Decorate the snowman by sticking additional accessories.
- Use buttons of different colours on the body. Googly eyes can be used as eyes along with a small triangle cut from orange paper to act as the nose.
- Paste a paper hat on the head and add a few snowflakes around him to complete the craft!
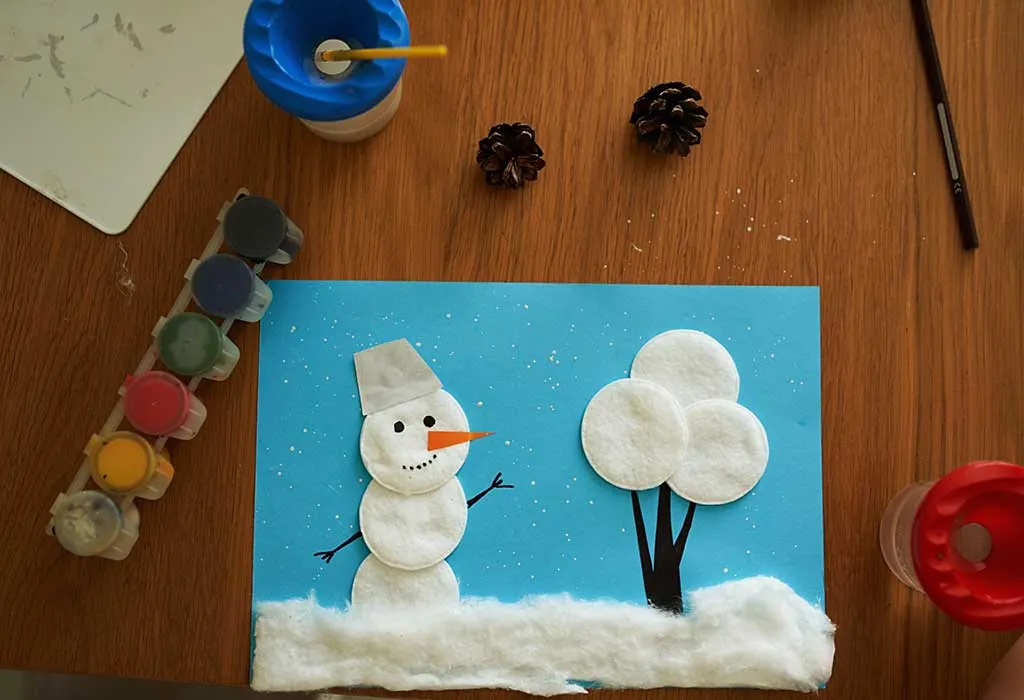
3. Cotton Ball Snowman
This snowman is very easy to make and can be done with things you find at home.
Supplies:
- Craft glue
- Shallow container
- Cotton balls
- Craft paper
- Scissors
- Sticks
- Googly eyes
- Stickers
Instructions:
- Let the kid draw a snowman on the craft paper.
- Pour some glue on the shallow container for the child to dip the cotton balls.
- Paste the cotton balls in the snowman outline.
- Once this is done, glue the other parts of the snowman.
- The googly eyes can go on the top, along with an orange triangular nose.
- Use the sticks for the arms.
- Stickers of snowflakes can be used to decorate the other areas of the paper. Additionally, draw or paste a small hat on the head of the snowman.
4. Snowman Paper Plate Masks
The children will love showing off their faces with these cute snowman masks.
Supplies:
- Paper plates
- Black card stock
- White glue
- Red construction paper
- Snowflake stickers
- Hot glue
- Craft sticks
- Scissors
Instructions
- Cut the centre circle of the paper plate in a way that the child’s face would be seen clearly through the plate.
- Paste the craft stick at the bottom of the paper plate.
- Trace a hat onto the black card stock and cut the hat out.
- Next, decorate the snowman hats! You can use simple red paper strips and snowflake stickers on the hat.
- Once the snowman hats are decorated, paste the hat at the top of the paper plate. It is better to use white glue since kids should not handle hot glue.
5. Salty Snowman
This craft idea provides a nice snowy effect on snowman art.
Supplies:
- Glue
- Salt
- Blue card stock
- Googly eyes
- Pipe cleaners
- Sequins
- Markers
- Crayons
Instructions:
- Have the kid draw a line across the bottom of the blue cardstock with glue.
- With the glue, draw the outline of a snowman on top of snowy ground.
- Fill the outline of the ground and the snowman with glue.
- After it is filled with glue, add craft items on the body and the face of the snowman. This would include small googly eyes, a small orange piece of the pipe cleaner for the nose, and small sequins for the buttons on the body.
- Finally, pour the salt over the glue. Make sure the glue on the paper is completely covered with salt.
- When this is done, pick up the page to allow the extra salt to fall off. Then lay it flat to let it dry.
- After it dries, you can add other details like arms and hats.
6. Snow Globe Snowman
This is another fun DIY snowman craft idea your child will love!
Supplies:
- Paper plate
- Orange and black construction paper
- Scissors
- Contact paper
- Buttons
- Sequins
- Sparkles
- Double stick tape
- Ribbon
- Stapler
- Paint
Instructions:
- Begin by cutting out a hat and small ovals (coal for the mouth) from black construction paper. Also, cut out a triangle from the orange construction paper for the nose.
- Take the contact paper and cut out a rectangle. Fold it in half. Also, make sure the contact paper is big enough to fit the inner circle area of the paper plate.
- Peel the back of the contact paper. Shake the sparkles on the contact paper and add some sequins.
- Fold the contact paper so that the sparkles and sequins are sandwiched in between and then seal it. To make sure nothing falls out, you can seal it using tape.
- Cut out the middle area of the plate to form a circle.
- To the cutout, paste the nose, the coal mouth, and the hat. For the eyes, paste two buttons.
- While waiting for the pieces to dry, attach the sparkly contact paper to the inside of the circle on the paper plate.
- Use double-stick tape to hold the contact paper really well. This large paper plate is the belly of the snowman.
- Staple the face to the belly and to cover the staples, add a scarf. Your snowman snowglobe is ready!
7. Foam Cups Snowmen
If you have a few foam cups lying around, then transform them into snowmen with this cute snowman craft idea!
Supplies:
- Felt
- Foam cups
- Medium pom-poms
- White craft glue
- Pipe cleaners
- Black marker
- Scissors
Instructions:
- First, take the felt and cut strips that are 1-inch wide, using the full length of the felt sheet. Fringe the ends of the felt with scissors by cutting around 5 slits. This is the scarf.
- Next, place the white foam cup upside down and paste the scarf around the cup while leaving enough room for adding details of the face.
- Cut a small triangle for the nose from the orange felt and paste it on the face in the nose area.
- For the earmuffs, take a pipe cleaner and cut it in half. Bend it around the top of the head and cut the ends so that these hangover by around half an inch.
- Take two pom-poms and trim one side to make it flatter. Paste the flat side on the ends of the pipe cleaners on the snowman’s head.
- Finally, take a black marker and add the eyes above the nose. Small eyebrows would also help give the snowman cute expressions!
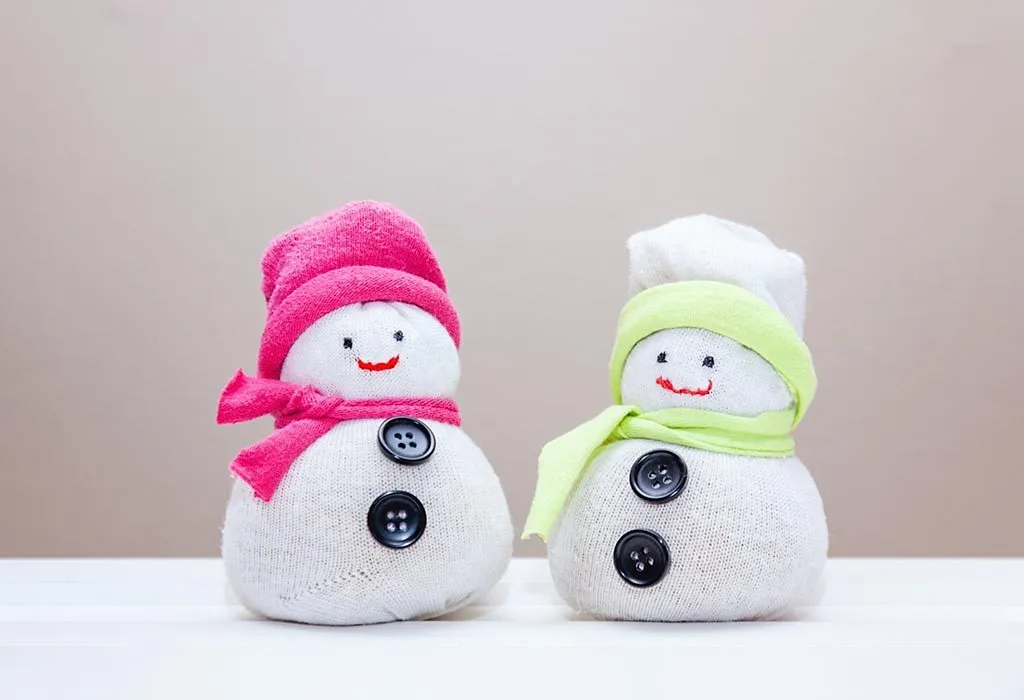
8. No-sew Sock Snowman Craft
This is a wonderful idea of snowman craft for toddlers.
Supplies:
- Socks (1 white sock and 1 colour sock for the hat)
- Rice
- Buttons
- Rubber bands
- Glue
- Paint or markers
- Orange pom-poms
- Ribbons
Instructions:
- Begin by filling the white sock with rice. Once you are happy with the size of the snowman, tie the top and seal the rice with a rubber band.
- Take another rubber band and tie it a little above the middle to separate the head and the body.
- Now paste the buttons on the body of the snowman using a glue gun.
- Using the markers, draw the eyes and the mouth. Paste a small orange pom-pom for the nose, and place another small orange pom-pom on top of the nose to make it longer.
- For the scarf, paste a ribbon around the neck and for the hat, cut the end of a small colour sock, roll it up and place it on top of the head.
9. Tea Light Snowman Ornaments
These lights make amazing Christmas ornaments
Supplies:
- Black sharpie
- Battery operated tea lights
- Red ribbon
- Red Pom-poms
- Red Pipe Cleaners
- Black felt
- Glue gun
- Orange sharpie
Instructions:
- Using a black sharpie, draw eyes and charcoal mouth on the tea light. You could even use googly eyes for the eyes of the snowmen.
- Cut a piece of red pipe cleaner that is about 2.5 inches long.
- Curve the piece of the pipe cleaner around the tea light and paste it on the tea light by adding drops of glue on the sides of the tea light.
- Paste the pom-poms on the end of the pipe cleaner and you have the earmuffs. Cut a small piece of ribbon and cross it over, stick it. At the back of the scarf, add a drop of glue and paste it behind the tea light.
10. Cupcake Liner Snowman
If you have a few cupcake liners at home, then make a snowman with those.
Supplies:
- Buttons
- Glue
- White cupcake liners
- Black beans
- Cardstock paper (brown, blue, orange)
- Washi tape.
Instructions:
- On a blue cardstock paper, paste 3 cupcake liners to form the body and head of a snowman.
- Use different designs of washi tape for the scarf and hat.
- Use black beans for the eyes and smile. Paste colourful buttons on the body.
- The strips of brown cardstock can be used as arms. White buttons can be pasted around the snowman as snowflakes.
11. CD Snowman Ornaments
Decorate your Christmas tree with these CD ornaments.
Supplies:
- Old CDs
- White acrylic paint
- Dried black beans
- White glitter glue
- Black buttons
- Pink craft foam circles
- Orange tissue paper
Instructions:
- Paint the CDs with white acrylic paint and let it dry.
- After it dries, brush on some white glitter glue to add sparkles to the discs.
- For the nose cut a sheet of orange tissue in half and fold this half twice (once lengthwise and one width wise).
- Grab the middle of that piece, pinch, and twist it.
- Push the nose through the hole of the CD and trim the paper to about half an inch at the back.
- Use the other craft pieces for the face of the snowman. Black beans for the mouth, black buttons for the eyes, and pink circles on the cheeks. Squeeze a hanging thread through the hole and use it as an ornament.
12. Paper Snowman Luminaries
This is one of the easiest snowman crafts for toddlers.
Supplies:
- White paper
- Orange and black markers
- Tape
- Scissors
- LED tea light candle
Instructions:
- Take a sheet of white paper.
- Use the markers to draw the face of a snowman at the centre of the paper. Simple black and orange markers would do the trick.
- Tape the two ends of the paper together in order to form a cylinder. Place the LED inside the cylinder and the luminary is done.
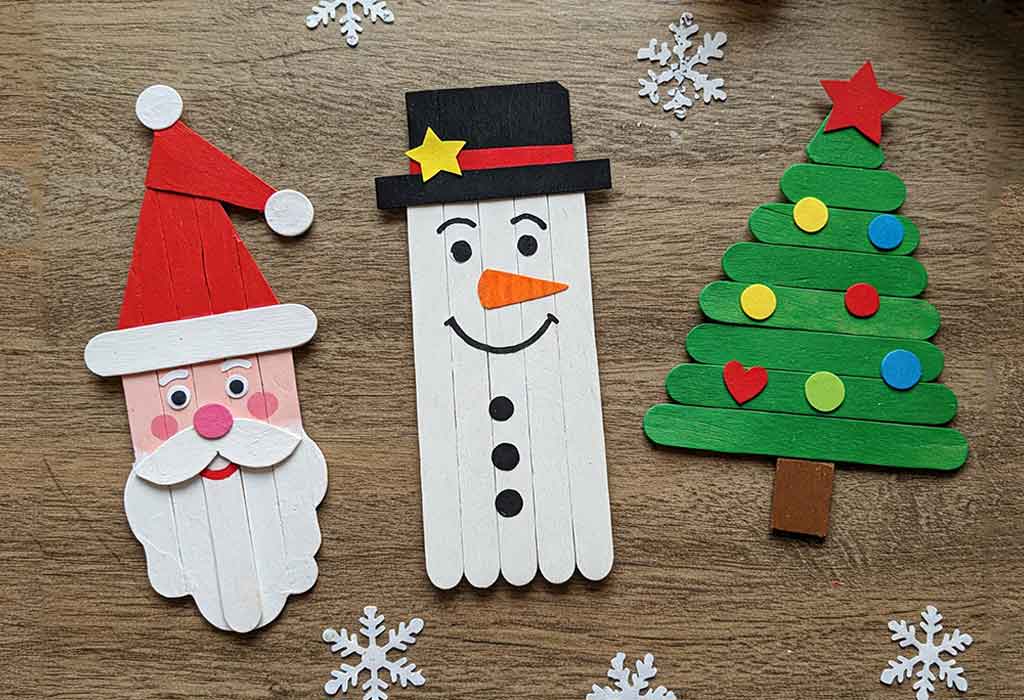
13. Popsicle Stick Snowman
A fun and creative snowman crafts for kindergarten kids!
Supplies:
- 9 popsicle sticks
- Glue
- Black paint
- White paint
- Paintbrushes
- Orange felt
- Scissors
Instructions:
- Line up seven popsicle sticks side by side and glue one popsicle stick horizontally across the top to hold them together.
- Once dry, flip it over and glue another stick diagonally across the top, forming the brim of the snowman’s hat.
- Paint the top part black for the hat, and the rest white for the snowman’s face.
- Use black paint to create eyes and a smiling mouth.
- Cut a small triangle from orange felt to make a carrot nose, and glue it onto the face.
14. Snowman Handprint Art
A sweet keepsake with your child’s handprint!
Supplies:
- Blue construction paper
- White paint
- Markers
- Paintbrush
- Glue
Instructions:
- Paint your child’s hand white and press it onto the paper.
- When dry, decorate each finger like a snowman with hats, eyes, and scarves.
- Add snowflakes or a winter background.
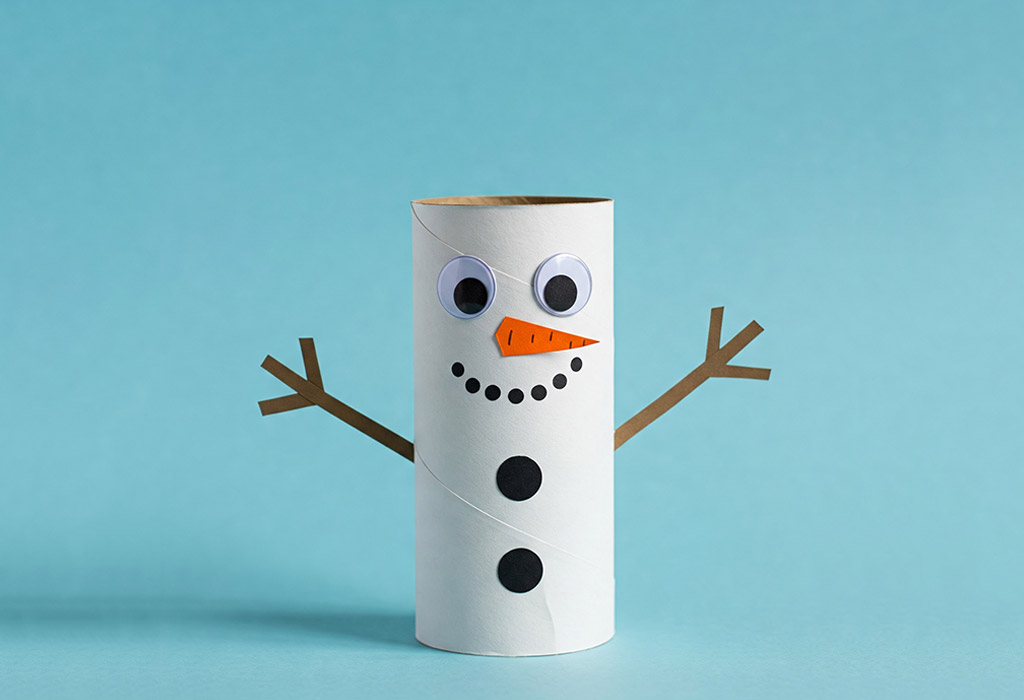
15. Toilet Paper Roll Snowman
Turn empty toilet paper rolls into cute, eco-friendly snowman!
Supplies:
- Empty toilet paper rolls
- White paint
- Markers
- Scrap fabric or ribbon
- Orange paper
- Googly eyes
- Glue
Instructions:
- Paint the entire roll white and let it dry.
- Glue on googly eyes and a small orange paper triangle for the nose.
- Draw a mouth and buttons with markers.
- Tie a piece of fabric or ribbon around the roll for a scarf.
- Add a small paper hat or earmuffs if desired.
FAQs
1. What can I do if I don’t have googly eyes or felt?
No problem, just get creative! You can draw faces with markers, use paper cutouts, or even small buttons. These crafts are super flexible and easy to customise with what you have at home.
2. How long do these snowman crafts for preschoolers take to complete?
Each craft usually takes 15 to 30 minutes, depending on the child’s age and attention span. Some may take a bit longer if there’s drying time involved, like with paint or glue.
When it is too cold to make snowmen outside, make warm snowmen inside using these ideas of snowmen crafts for preschoolers, toddlers, and children!
Also Read:
Animal Crafts for Kids
Newspaper Craft Ideas for Children
DIY Shoebox Craft Ideas for Kids
Best Out of Waste Material Craft Ideas for Children
Was This Article Helpful?
Parenting is a huge responsibility, for you as a caregiver, but also for us as a parenting content platform. We understand that and take our responsibility of creating credible content seriously. FirstCry Parenting articles are written and published only after extensive research using factually sound references to deliver quality content that is accurate, validated by experts, and completely reliable. To understand how we go about creating content that is credible, read our editorial policy here.


