How to Make Origami Flowers – Step by Step Guide
Origami, the ancient Japanese art of paper folding, offers a fun and creative way for kids to explore their artistic side while developing fine motor skills and concentration. The art of origami is known to have endless possibilities for making multiple shapes out of paper. One of those is folding paper to make different flowers. By knowing the process of making origami flowers for kids step-by-step, you can teach your child how to make them by himself and also join him in the activity. In this article, we’ll share easy flower origami step-by-step that is perfect for kids of all ages, whether they’re trying origami for the first time or looking to expand their paper-folding skills.
Easy Origami Flower Crafts for Kids
Here are some simple ways to teach your child how to make different origami paper craft flowers.
1. Chrysanthemum
These beautifully layered flowers are a delight to the sore eyes.
Material Required
- Pink coloured paper
- Scissors
- Glue
- A stem of a plant
How to Make
- Cut out petals of the flower from the pink coloured paper.
- Create layers of those petals by pairing them together.
- Each petal should be slightly larger in size than the previous one. Put together 12 such layers.
- Once done, glue all these layers together in the shape of a flower. Use a stem to hook it onto for added effect.
2. Rose
A favourite among many, roses come in various bright colours.
Material Required
- Red coloured paper
- Pencil
- Scissors
- Glue
How to Make
- Draw a circular spiral from the centre of the red paper.
- Use scissors to cut along the spiral lines that have been sketched.
- Once you have the strip with you, start rolling it from the outer end towards the inner end, arranging the layers as you go.
- Once completed rolled, glue the end part to hold it together in one place.
- Make many such roses to form a bouquet.
3. Tulip
These long-stemmed flowers come in various colours and can be a great add-on to your centre-table.
Material Required
- Coloured paper of your choice
How to Make
- Cut the paper into a square shape. This will be the base.
- Divide the base into 4 equal squares.
- Fold the paper across the diagonals of the squares to let it stand up.
- Fold the paper fully over the diagonal. Then hold the sides and fold them towards the centre.
- Wrap the other sides in the centre and form small wings by keeping them pressed together.
- Then, open the sides present in the bottom so that the paper starts detaching the ends.
- As the ends get detached, fold them outwards to form a beautiful origami tulip.
4. Peony
Peonies are beautiful flowers that are found in various shades of pink.
Material Required
- The coloured tissue paper of your choice
- Scissors
How to Make
- Take multiple tissue papers together and fold them lengthwise.
- Keep folding them until an accordion-like fold pattern is formed.
- Tie all these papers at the centre from the shorter end.
- At the longer ends, use a pair of scissors to cut them in diamond shapes. These will resemble the flower petals.
- Keep the centre tight, unfurl both ends to reveal a beautiful peony flower.
5. Fairy Ball Flower
A classic origami favourite, this is simple to make and can look delightful.
Material Required
- The coloured tissue paper of your choice
- Scissors
How to Make
- Take multiple layers of tissue paper together.
- Fold the papers in a zig-zag fashion along the length.
- Once folded, take a pair of scissors and cut both ends of the strip in a round shape.
- Now press one finger on the centre and start splitting each layer of the tissue paper gently.
- Higher the number of tissues, more magnificent is the flower to look at.
6. Lotus
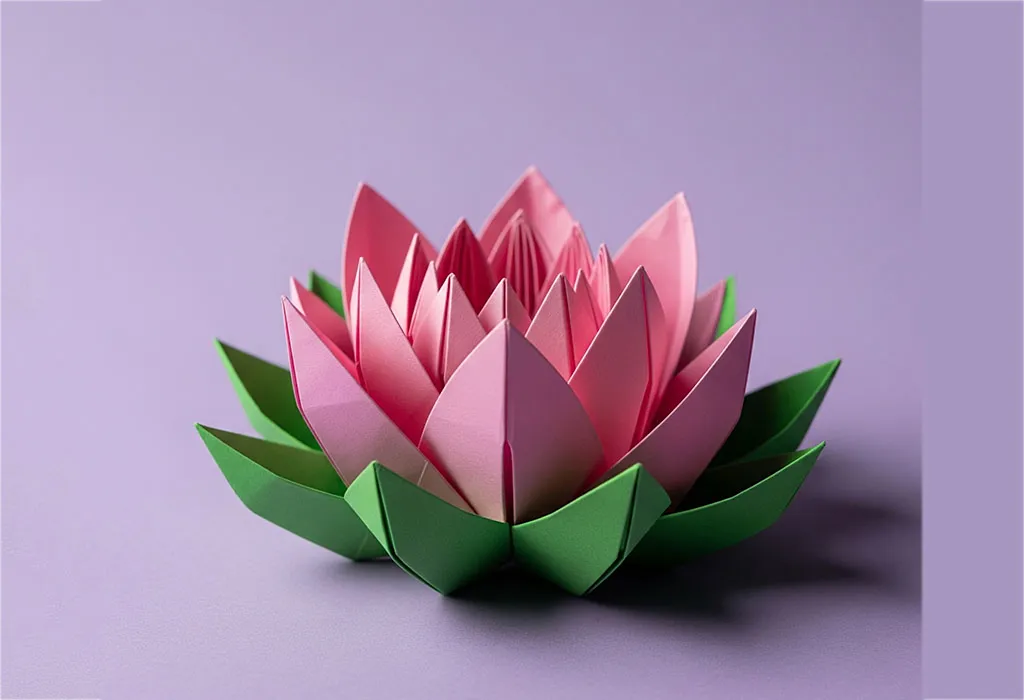
Image Credit: AI-Generated Image
A beautiful flower often found in water gardens, now in paper form.
Material Required
- Pink and green coloured paper
- Scissors
- Glue
How to Make
- Fold the pink paper diagonally both ways to form an “X” crease.
- Fold all four corners to the centre.
- Repeat the step with the new smaller square.
- Flip the paper and fold corners to the centre again.
- Gently pull out the petals from underneath to form a blooming lotus.
- Add a green base for the leaf using circular paper.
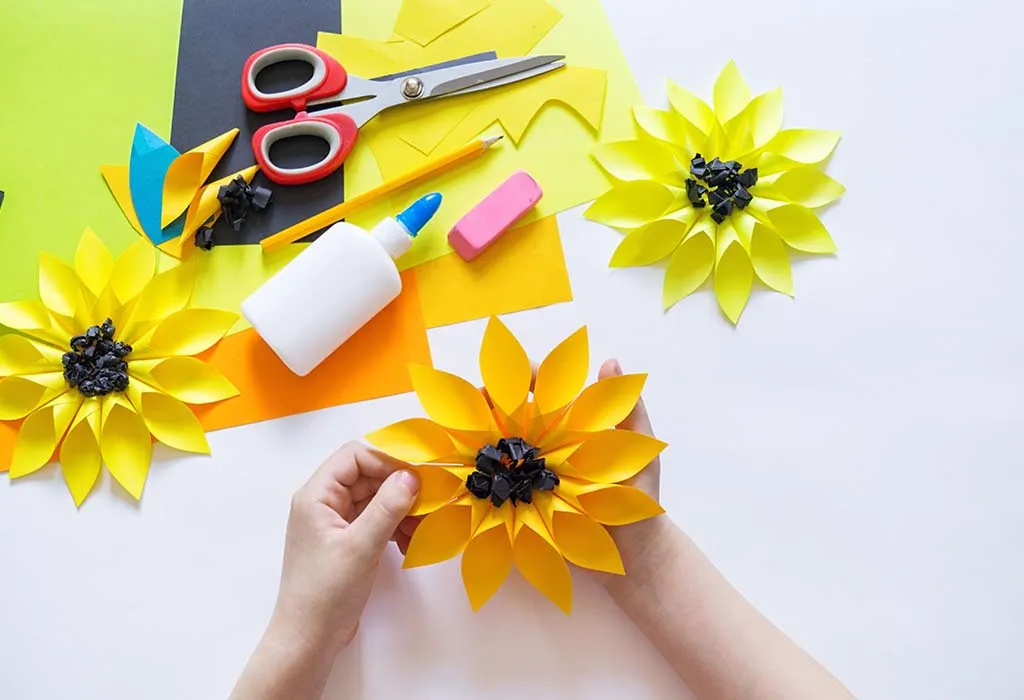
7. Sunflower
Bright and happy, a sunflower is sure to bring smiles!
Material Required
- Yellow, brown, and green paper
- Scissors
- Glue
How to Make
- Cut yellow paper into equal petal shapes.
- Paste them in a circular pattern on brown circular paper.
- Create a green stem and leaves and attach them to complete the flower.
8. Daffodil
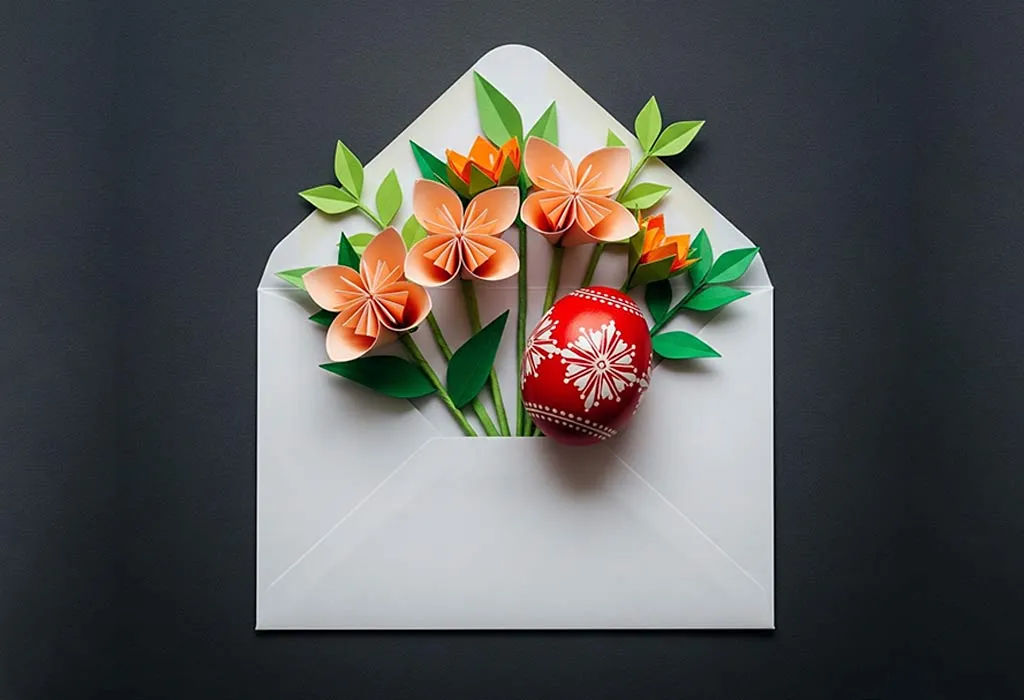
Image Credit: AI-Generated Image
A trumpet-shaped flower that’s fun to craft.
Material Required
- Yellow and orange paper
- Scissors
- Glue
How to Make
- Create six petals from yellow paper and glue in a circular shape.
- Roll a small orange strip into a cylinder and glue it in the centre as the trumpet.
- Add a stem if desired.
9. Daisy
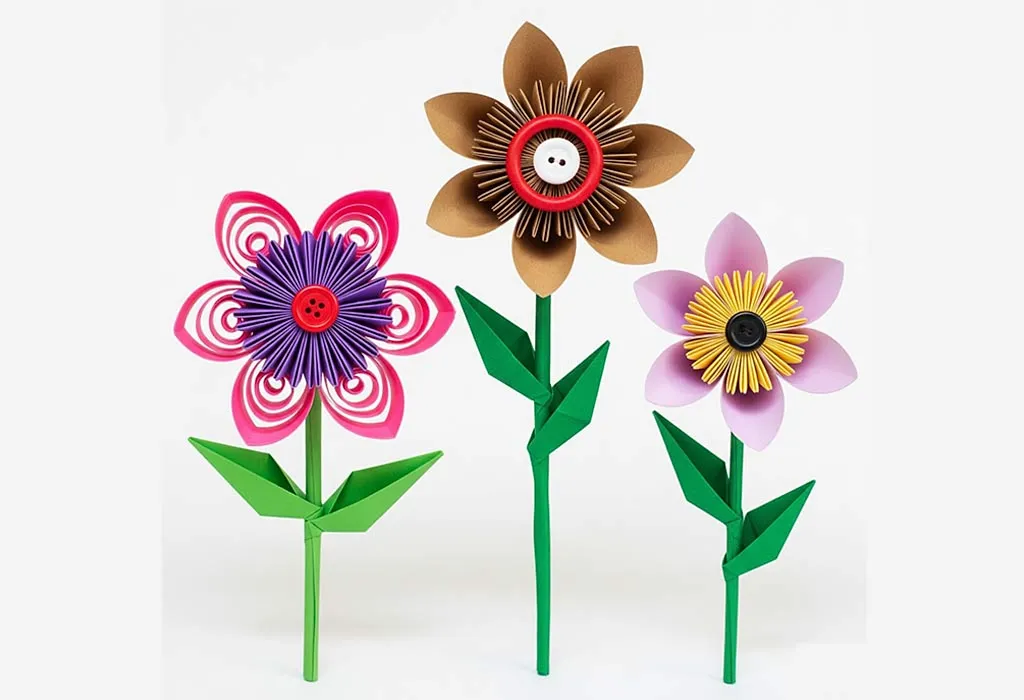
Image Credit: AI-Generated Image
A cheerful flower with layered white petals and a yellow centre.
Material Required
- White and yellow coloured paper
- Scissors
- Glue
How to Make
- Cut several white paper strips of equal length.
- Loop each strip and glue both ends together to form petal shapes.
- Glue all petals in a circular arrangement.
- Cut a yellow circle and paste it in the centre.
10. Marigold
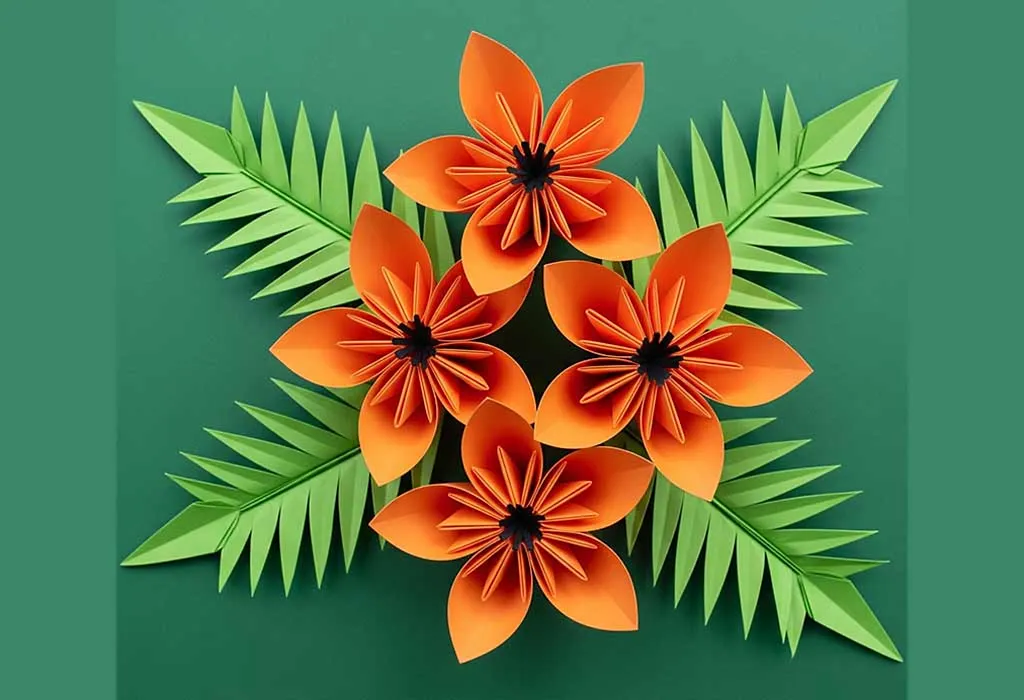
Image Credit: AI-Generated Image
A fluffy and vibrant flower, great for festive decor.
Material Required
- Orange or yellow tissue paper
- Scissors
- String or twist tie
How to Make
- Stack 6-8 tissue paper sheets.
- Fold them accordion-style.
- Tie in the centre with string.
- Trim the edges into rounded or pointed shapes.
- Carefully pull apart each layer to fluff it up.
Benefits of Origami Flower Crafts for Children
Origami flower crafts are more than just a fun activity for kids, they offer valuable developmental benefits that support learning and creativity. Here are a few advantages children gain by engaging in these creative paper-folding activities:
- Enhances Fine Motor Skills: Folding, cutting, and shaping paper helps children develop better hand-eye coordination and finger dexterity.
- Boosts Concentration and Patience: Completing origami projects requires attention to detail and persistence, encouraging focus and calmness.
- Stimulates Creativity: Children explore colours, shapes, and designs, allowing them to express their imagination through artistic choices.
- Improves Spatial Awareness: Understanding folds and transforming a 2D sheet into a 3D object enhances spatial reasoning and geometry skills.
FAQs
1. What is the best age for kids to start making origami flowers?
Children as young as 5 can begin making simple origami flowers with adult supervision. Basic folds and easy designs are perfect for young beginners, while older kids can try more detailed flowers.
2. What types of flowers are easiest for beginners?
Tulips, daisies, and roses made with spiral or folding techniques are among the easiest flowers to start with. These require minimal folds and simple assembly.
Origami is quite a challenging art but not all shapes are difficult. But knowing how to make origami flowers in the easiest way possible, you and your child can have a gala time putting together a garden of roses, tulips, and tons of other flowers. Don’t refrain from experimenting with different styles or paper patterns to discover more variations.
Also Read:
Clay Craft Ideas for Kids
Origami Crafts for Children
Amazing Paper Crafts for Kids
Creative Newspaper Craft Ideas for Kids
Was This Article Helpful?
Parenting is a huge responsibility, for you as a caregiver, but also for us as a parenting content platform. We understand that and take our responsibility of creating credible content seriously. FirstCry Parenting articles are written and published only after extensive research using factually sound references to deliver quality content that is accurate, validated by experts, and completely reliable. To understand how we go about creating content that is credible, read our editorial policy here.








.svg)


