14 Easy and Innovative Greeting Card Making Ideas for Kids
Your child is bored of drawing some figures and sketches on paper and passing them off as greeting cards. After the age of 6 or 7, kids are looking for more interesting ideas in craft making that will help them develop their motor skills and provide enough fuel to pique their curiosity. Card craft for kids has long been a great way to involve them in coordinating their creative prowess. Homemade cards give that personal touch and when made by kids carry a special emotional value. Let’s read more about greeting card making for kids. Below, we list some great card-making activities for kids to help you embark on an artistic journey with your child. This will help them be occupied and also hone their intrinsic arty abilities.
Simple and Creative Card-Making Ideas for Children
Card making is a simple activity that results in an admirable work of art that can be displayed and also create a sense of satisfaction in kids when they complete it. There are several occasion in a year to exchange cards and rather than walk into a store to buy a pack of cards for any occasion, why not get your kids to make them. Inspire your children with the below listed simple techniques for making greeting cards to help make some nice memoirs for families and friends.
1. Simple Pop Up Card
What You Will Need
- Any heavy paper or card paper as a base
- Construction paper in varied colours
- White glue
- A pair of scissors
- Crayons and coloured pens
- Plain white paper
How to Create
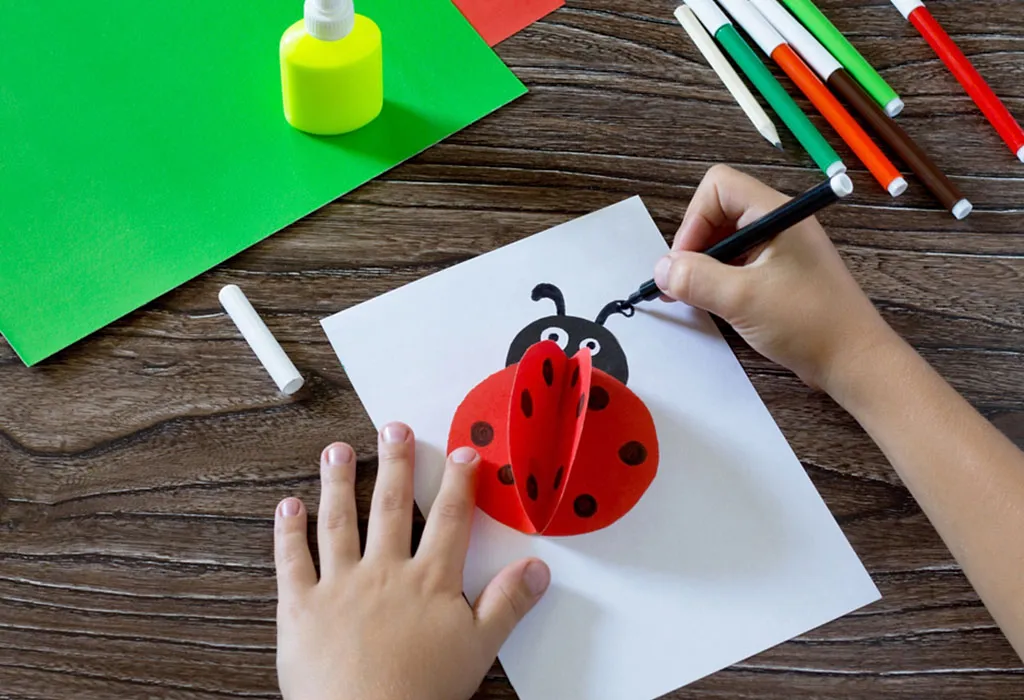
- Cut the card paper according to the size you need.
- Fold it into the half. Make parallel slits, one inch apart on the side of the fold about two inches long.
- Fold the portion cut out towards the card to create a strong crease.
- Open the card and place the paper cut out inside. The fold must open like a box inside the card.
- Now cut out a piece of coloured paper, bigger than the size of the card paper you made earlier.
- Keep the card paper with the pop-up slit on top of the construction paper. This should be placed on the inside of the card facing upwards. Stick it firmly to the construction paper with glue ensuring that the pop-up section in not glued.
- Fold the cards together to make a strong fold.
- Now get your kid to make a design on the plain white paper that can become the pop-up image. Once done, help your kid to cut the paper design and glue it to the pop-up section
2. Pressed Flower Card
What You Will Need
- Coloured card paper
- Glue
- Green coloured paper
- Pair of scissors
How to Create
- Get your kid to cut out strips of green paper and stick it to the bottom to create the grass.
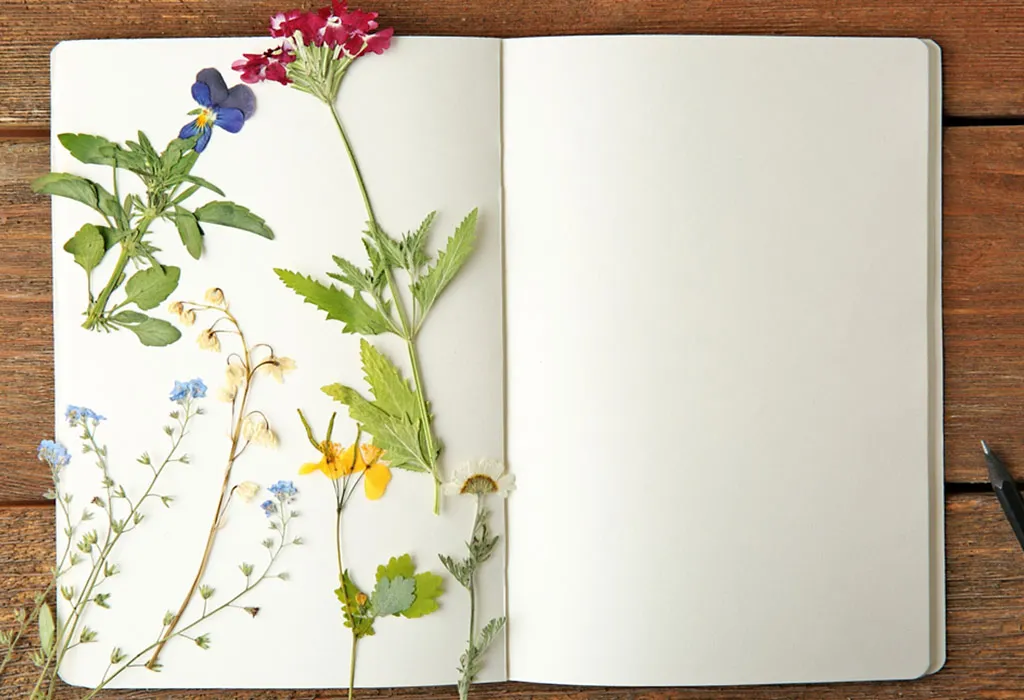
- Use as many dried flowers as the main attraction of the card. Ensure the cards are completely withered and devoid of all moisture. Stick these on the front portion of the card to get a beautiful card with an autumn effect
3. Pin it Card
What You Will Need
- Card paper of any colour
- Sticky notes/ Post-it notes (preferably coloured ones in any size)
- Coloured pens
- Embellishments
- Glue

How to Create
- Get your kid to write nice messages on sticky notes
- Stick the embellishment as an attractive centrepiece on the centre of the front part of the card
- Glue the sticky notes in a nice pattern around it to make a collage of messages.
4. Scrap Card
What You Will Need
- Decorating material leftover from a scrapbook
- Ribbons, buttons and sticky gems
- Glue
- Coloured Card Paper
- Coloured Pens
- Pair of Scissors
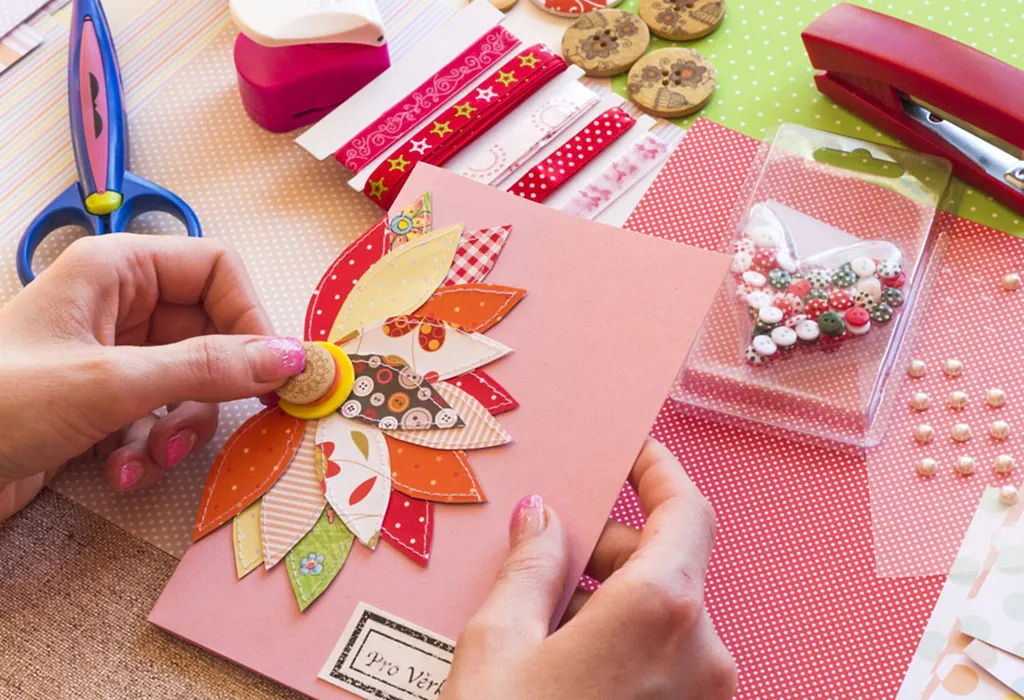
How to Create
- Assist your kid to cut out leftover material from the scrapbook.
- Glue this one on top of the other to a different material to give a coated effect.
- Decorate it with ribbons, buttons and gems to give a dainty look
- Put it up on the front of the card paper
- Ask your kid to write a message in a scrapbook style ( like a joke, limerick or a poetic verse)
5. A Safety Pin Card
What You Will Need
- Safety pins in same design and size
- Decorative button embellishment for the centre
- Glue
- Beads that can be fitted with the safety pins
- Coloured Pens
- Coloured Card Paper
How to Create
- Insert beads into the safety pins.
- Glue the safety pins on to the coloured paper in shape of a flower making the pins look like petals.
- Stick the button at the centre of the flower
- Write a message around the flower in colours of the beads.
6. Ribbon Pieced Card
What You Will Need
- Card paper in any colour
- Ribbons and laces in different colours and textures
- Pair of scissors
- Glue
- Coloured pens and decorative items like beads, pearls, sticky gems

How to Create
- Create a flower shape with strips and pieces of old ribbons and glue it on top of the card on one corner.
- If you have any different ribbon, create a nice border around the other edges and use the decorative items to create a design on the opposite side of the flower.
- Write your message in coloured pens.
7. Leafy Card
What You Will Need
- Old dried leaves
- Card paper in any colour
- Glue
- Coloured pens
How to Create
- On top of the card paper, stick some dry leaves to make a beautiful pattern.
- Use the coloured pens to write a message on top.
8. Touch and Feel Card
What You Will Need
- Different coloured card papers in various textures
- A coloured card paper to use as a base
- A pair of scissors
- Glue
- Coloured pens
How to Create
- Cut out squares or strips of any shape from the textured card papers
- Glue these on top of the coloured card paper to form a geometrical pattern or a colour block design
- Write a message with coloured pens
9. Thumb Impression Card
What You Will Need
- Poster colours
- A palette to use the colours
- Card paper
- Coloured pens
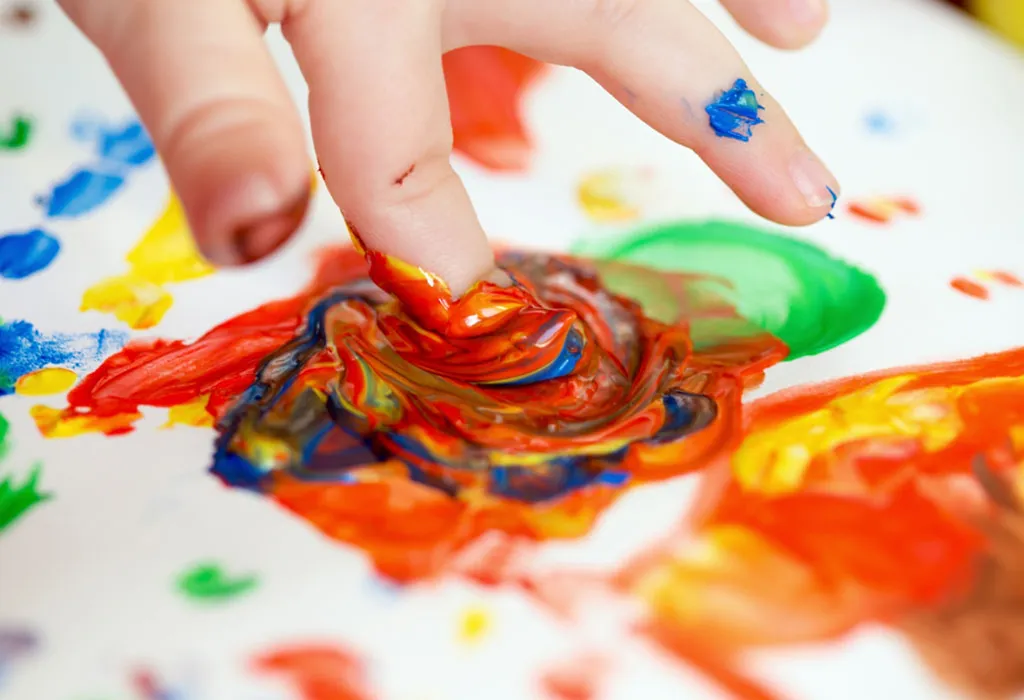
How to Create
- Empty the poster colours on the palette and make sure they do not mix
- Ask your kid to dip their thumb in the colours one by one and make a pattern on the card paper
- Once it is dry, write a message using coloured pens
10. Paper Bag Card
What You Will Need
- A paper bag with funky designs on it
- Card paper
- Scissors
- Glue
How to Create
- Cut out the design from the paper bag carefully. You could cut more than one design if it is apt for the card.
- Make sure the card paper you stick the design on is sufficiently big to fit it. Stick the design on the card.
- Write down a message with coloured pens if you wish.
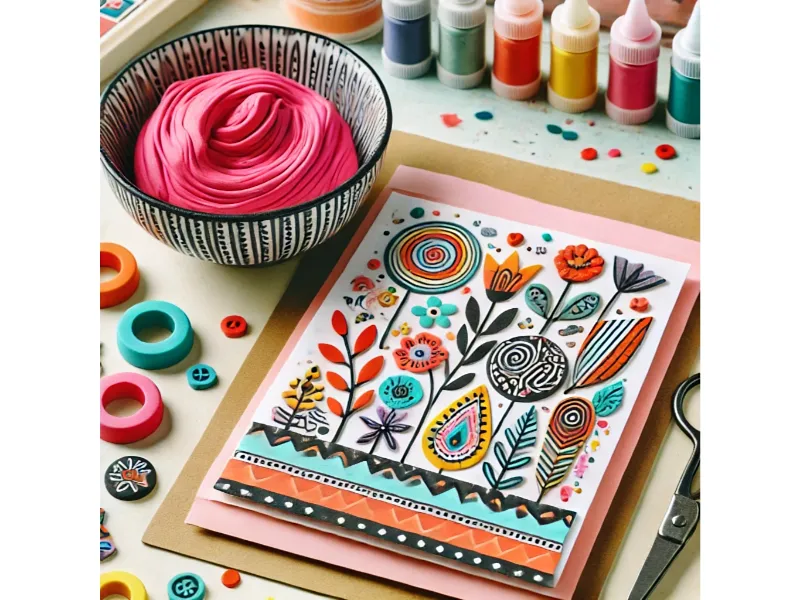
11. Clay Card
What You Will Need
- Playdoh Clay in different colours
- Card paper
- Glue
- Coloured pens
How to Create
- Take some clay in different colours and roll it into balls
- First, take a ball and press it into a circle. Then take another ball and press it in a circle and engrave it over the first one. Use another ball and press it into a circle and place it over the second one. This will like a flower design. Stick in on the card paper
- Use green clay and roll it into thin slices to make stems.
- Stick this card paper onto a piece larger than that. Decorate the outer paper with some designs with coloured pens or write a message.
12. Vegetable Print Card
What You Will Need
- Vegetables like potato, okra, cabbage
- Card paper
- Poster colours and 3-4 wide plates
- Coloured pens
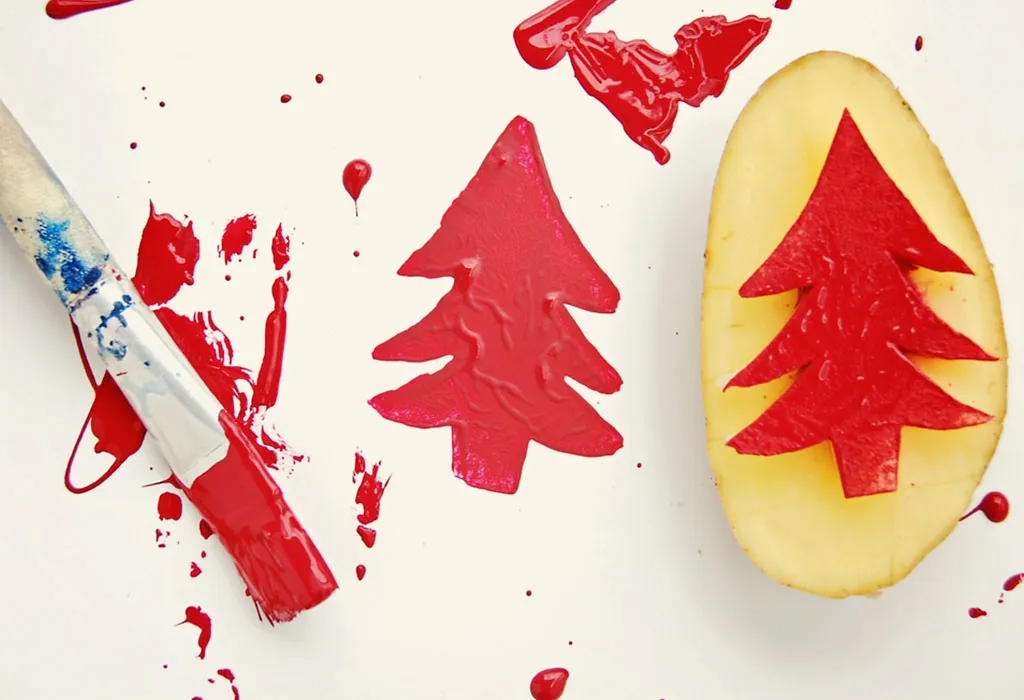
How to Create
- Empty the poster colours on to the plates. Each colour on a separate plate
- Slice the potato, okra or cabbage and dip it in colour.
- Get your kid to press the coloured vegetable onto the card pattern.
- Okra could be used to make a flower, the potato could be used to make a bud, and the cabbage could serve as a vase.
- Write down a message in coloured pens.
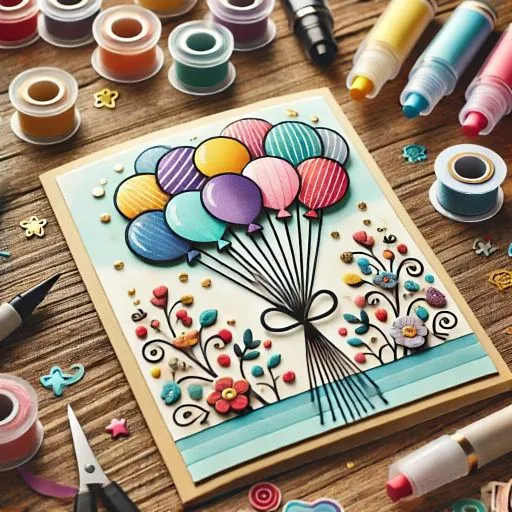
13. Balloon Card
What You Will Need
- Bright coloured card paper
- Glue
- String or yarn
- Coloured markers or stickers
How to Create
- Cut out balloon shapes from the card paper and arrange them on the front of the card.
- Attach a piece of string to the bottom of each balloon to resemble the balloon’s string.
- Decorate the balloons with fun patterns or stickers.
- Write a celebratory message with coloured markers and complete the design with some extra stickers.
14. Fabric Patch Card
What You Will Need
- Scraps of colourful fabric
- Card paper
- Scissors
- Glue
- Coloured pens
How to Create
- Cut the fabric into fun shapes like stars, hearts, or circles.
- Stick these shapes onto the card to create a textured design.
- Use the coloured pens to write a message or add decorative details around the fabric.
FAQs
1. How can I make a greeting card interactive for kids?
Interactive greeting cards can be made by adding elements like pop-ups, flaps, or pull tabs. Encourage kids to use textured materials, such as fabric or felt, to add tactile features that can be touched or moved.
2. How can greeting card making help in a child’s development?
Greeting card-making promotes fine motor skills, creativity, and emotional expression. It allows children to practice their cutting, glueing, and drawing abilities while also learning about colours, shapes, and design.
Homemade cards are an excellent kids’ craft for every possible occasion: birthdays, anniversaries, thank you notes, festivals, Mother’s Day, Father’s Day, and Friendship Day – the list is endless! At all times, undoubtedly, making greeting cards is a great way to get your child to practise drawing, painting, or writing – and making cards is an excellent way for your child to sharpen their fine motor skills, too!
This was all about how to make greeting cards for kids. Card-making teaches children about communication and expressing their feelings in an expressive way. The cards they make reflect the voice of their soul. Cardmaking is an economical hobby to pursue as it does not require expensive materials. The simplest of materials like coloured paper, glue, scissors, glitter, colours and most of it can be done even with fancy scrap bits to lend an aesthetic touch.
Also Read:
DIY Bookmark Ideas for Kids
Summer Craft Ideas for Your Kids
Best Out of Waste Craft Ideas for Children
Amazing Hobbies & Activities for Kids
Was This Article Helpful?
Parenting is a huge responsibility, for you as a caregiver, but also for us as a parenting content platform. We understand that and take our responsibility of creating credible content seriously. FirstCry Parenting articles are written and published only after extensive research using factually sound references to deliver quality content that is accurate, validated by experts, and completely reliable. To understand how we go about creating content that is credible, read our editorial policy here.






.svg)


